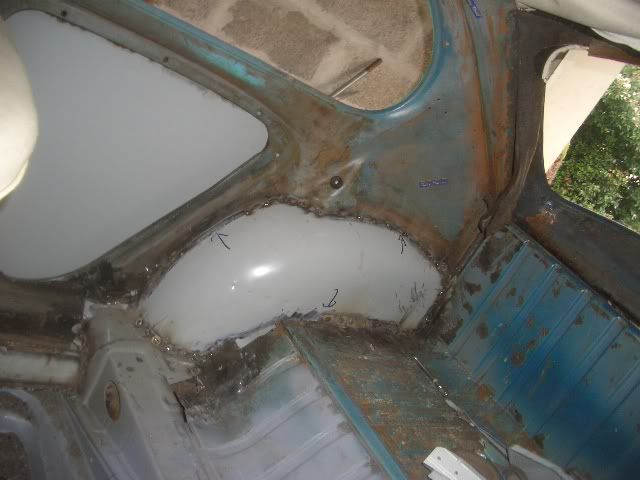
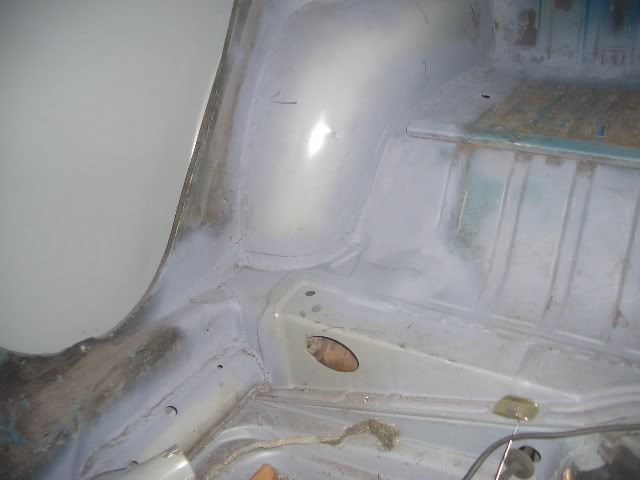
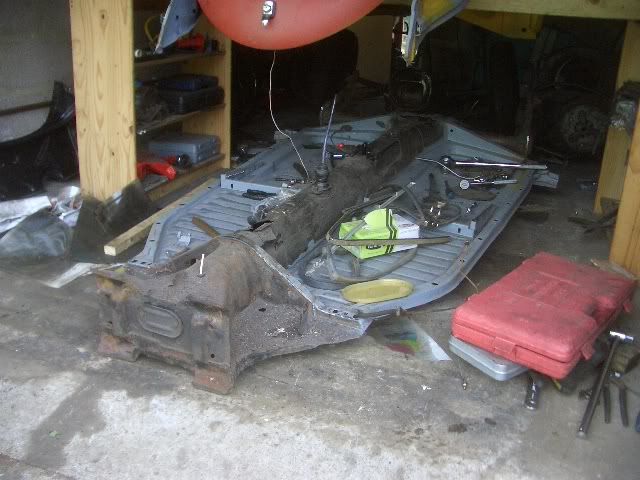
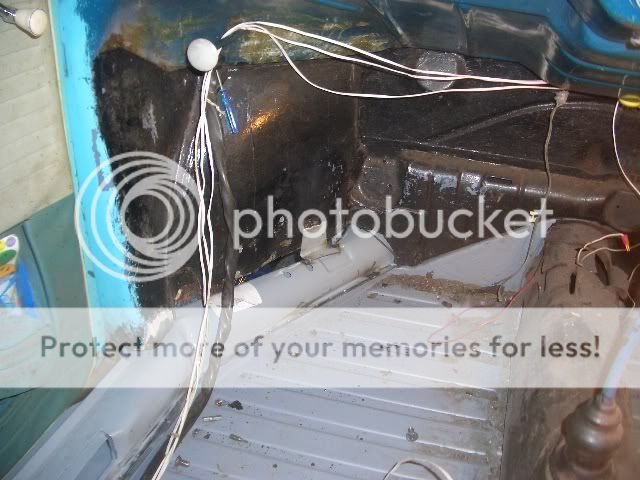
Having removed the floors, a bit of repair was required to the bits surrounding them.
I only used offcuts of repair panels, as the repair panels are quite frankly shite.
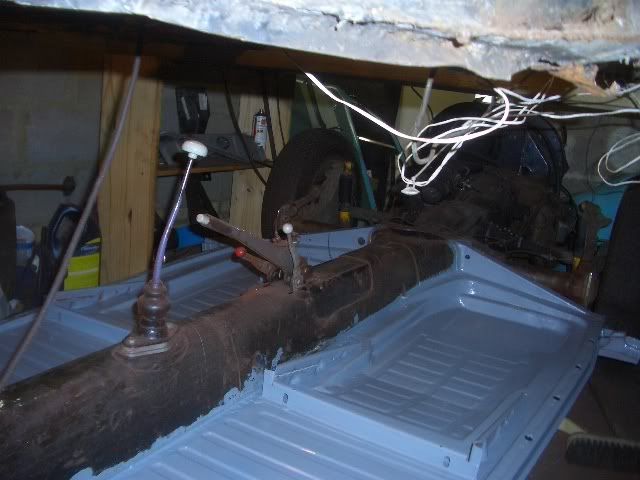
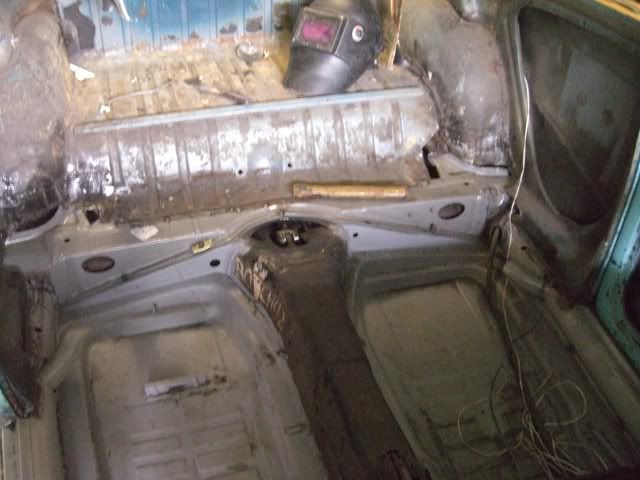
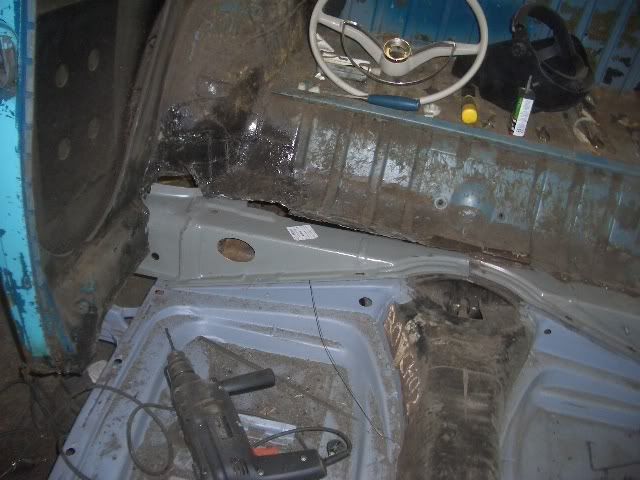
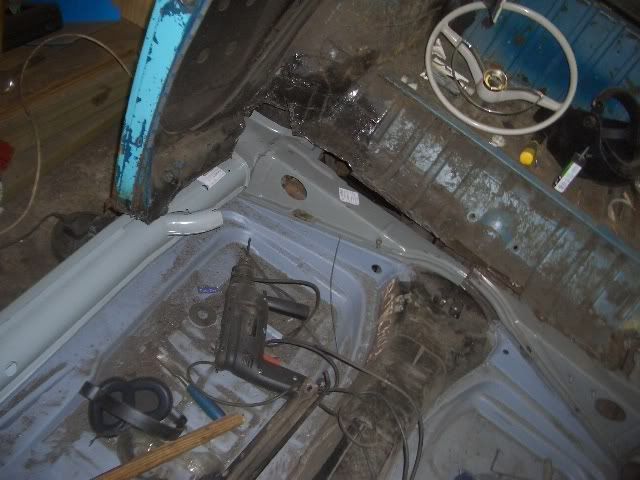
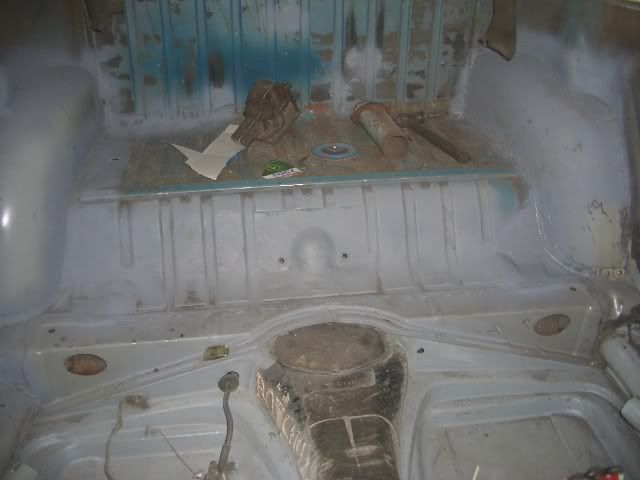
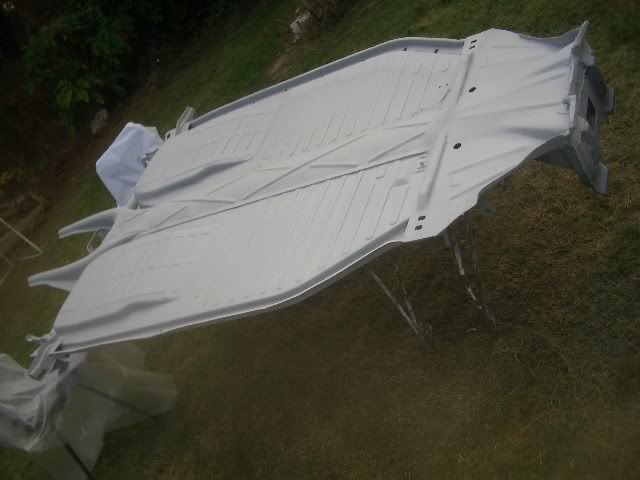
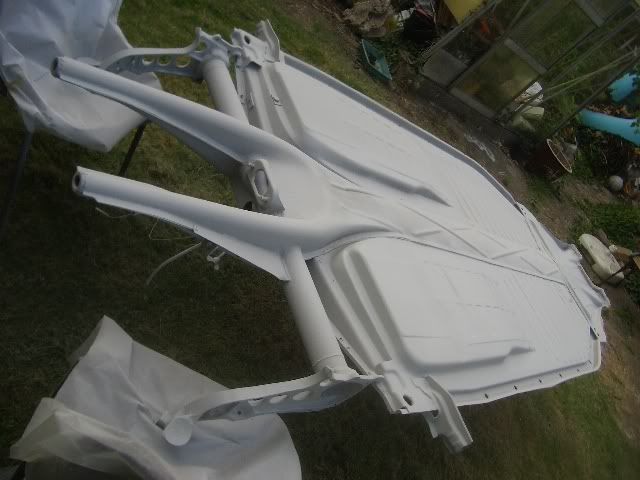
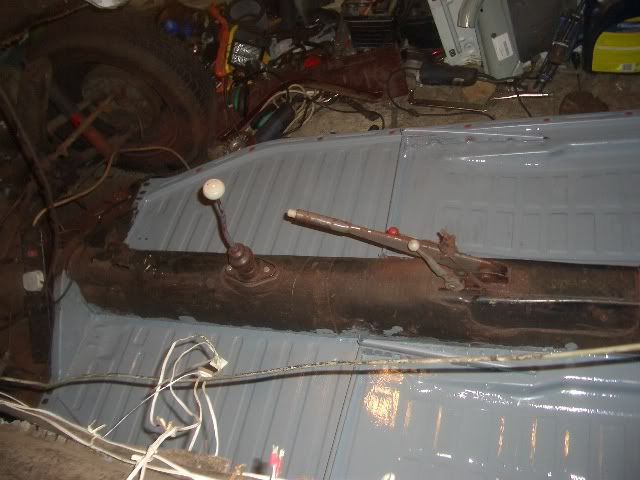
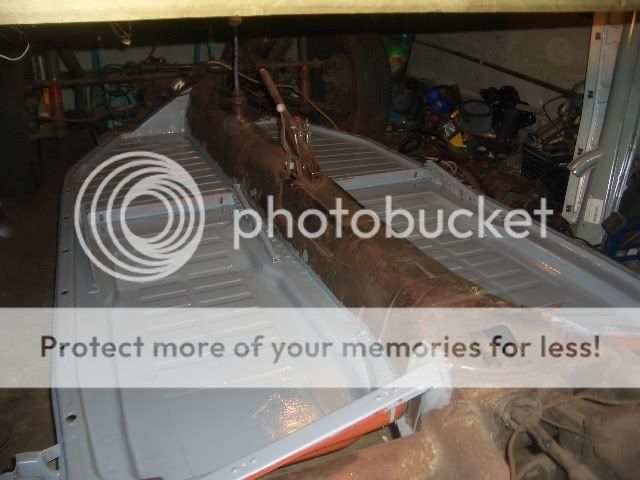
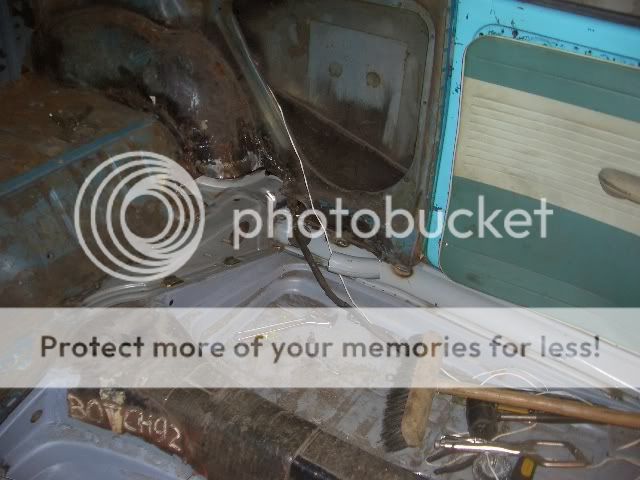
A bit later, I had fitted two new floorpans. They were/are the 'Heavy duty' ones as sold in the USA by Wolfsberg west IIRC. Very nice and strong, and easy to fit. Everything seems to line up well
Wahey.
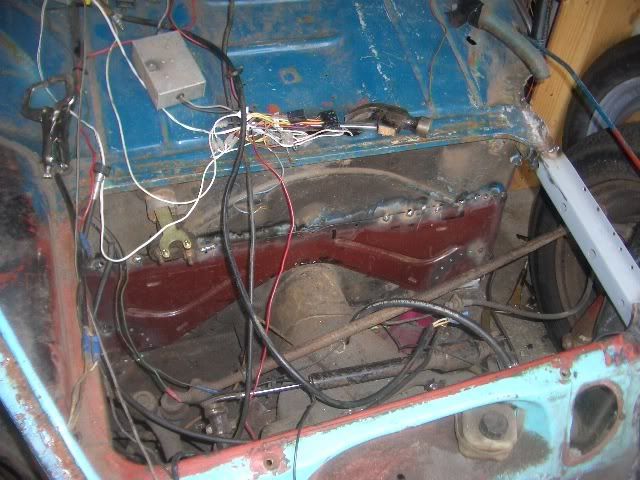
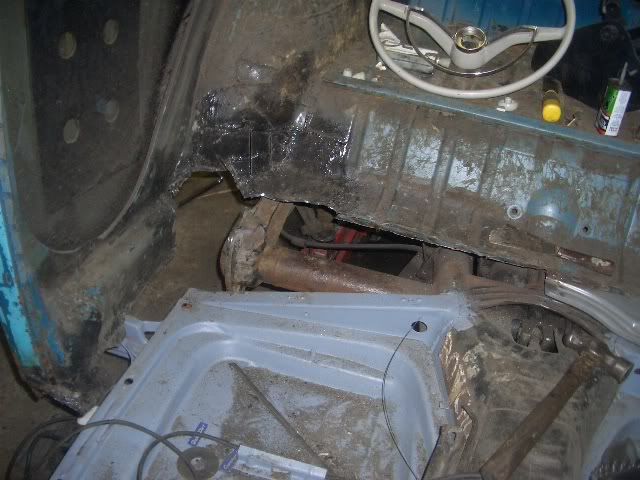
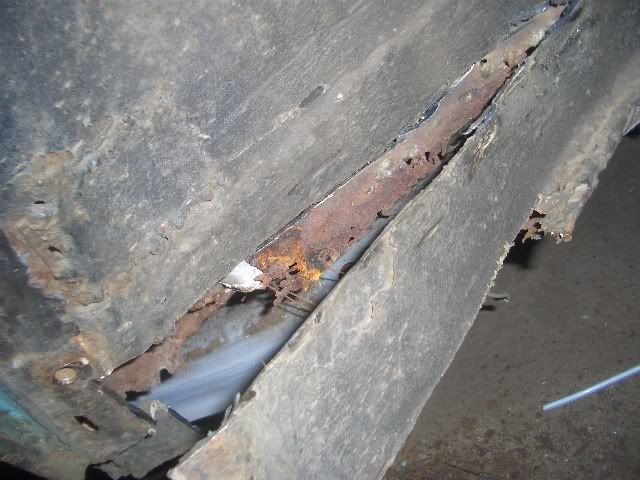
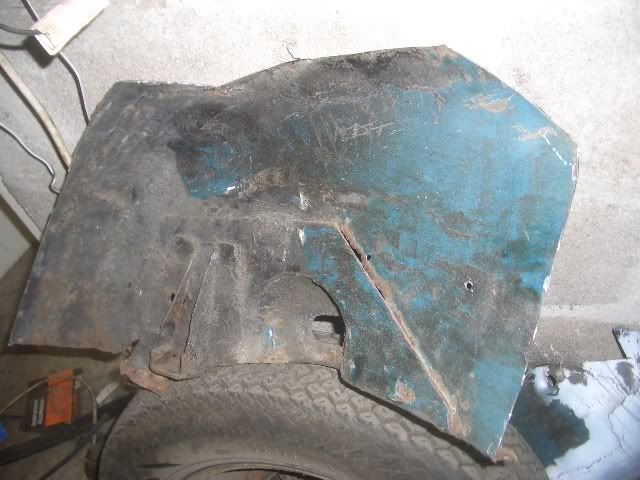
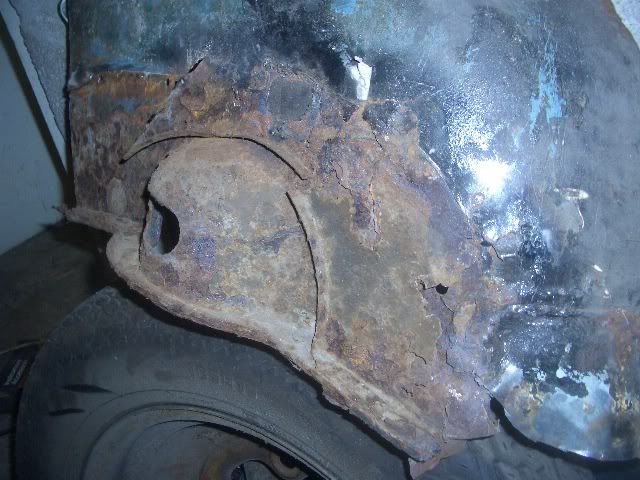
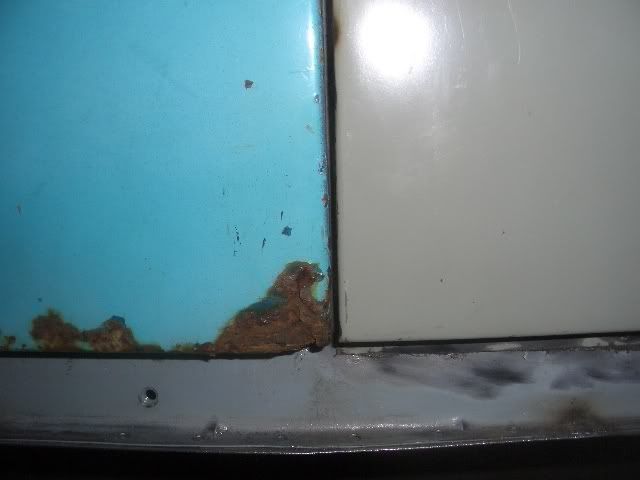
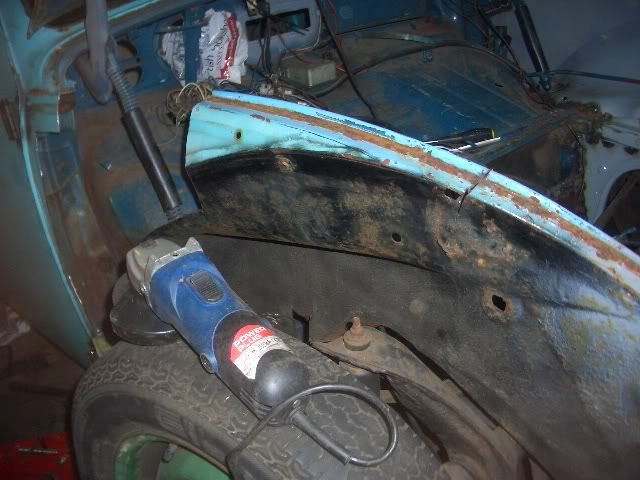
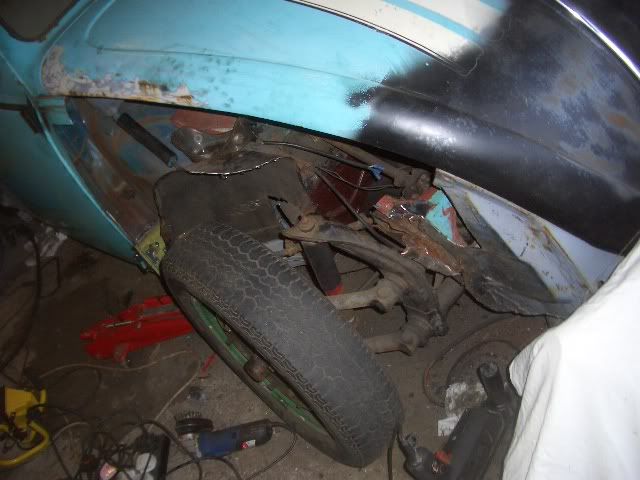
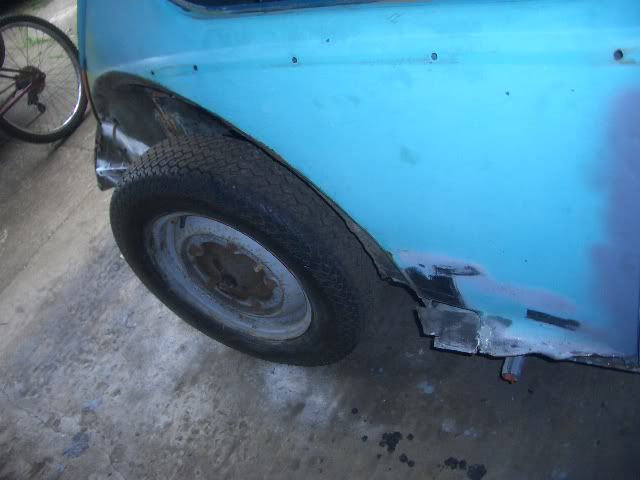
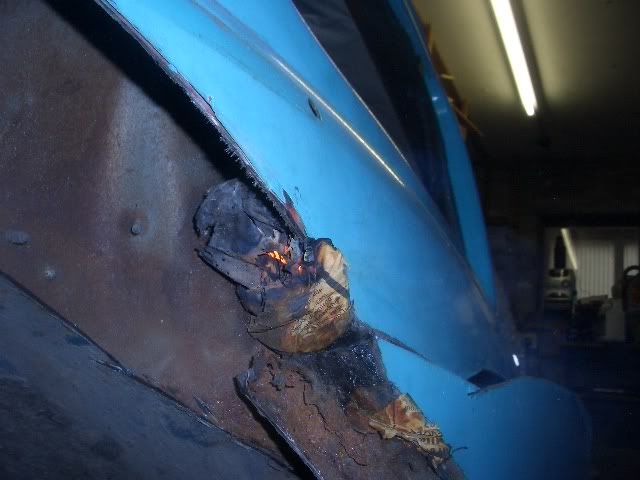
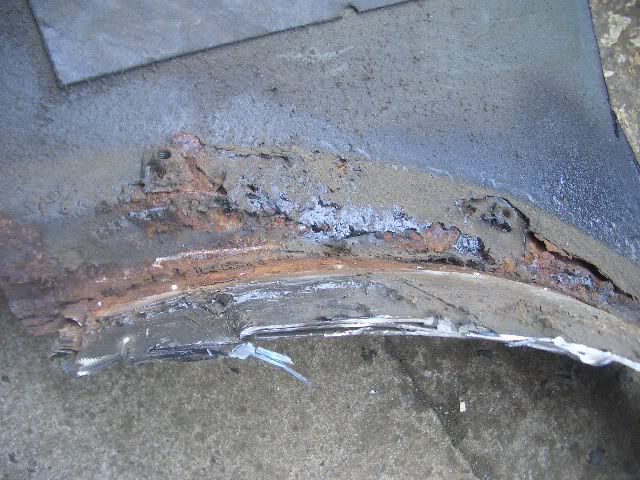
Continually finding rust, more rust..
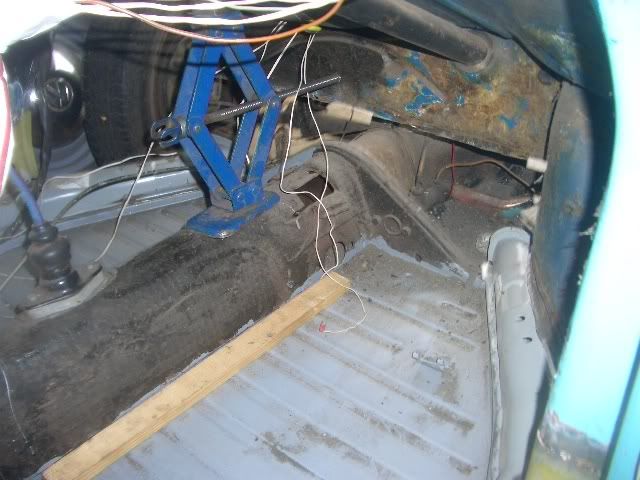
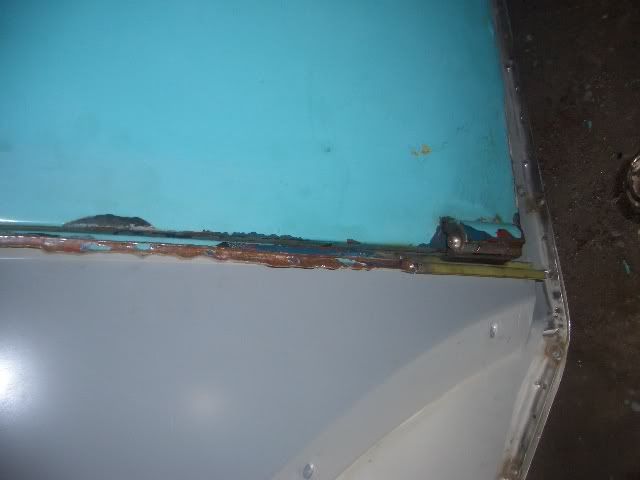
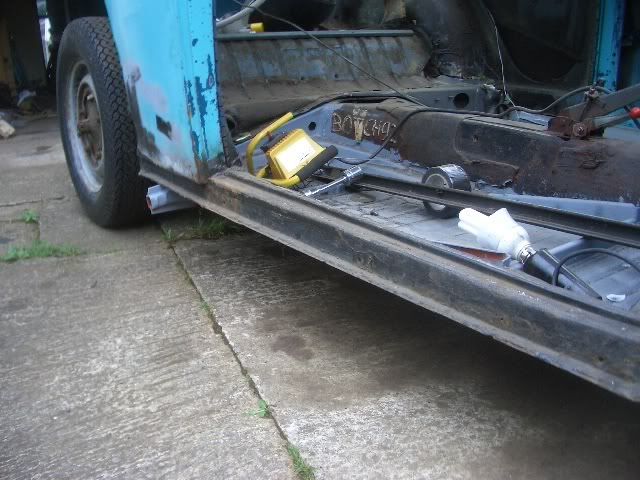
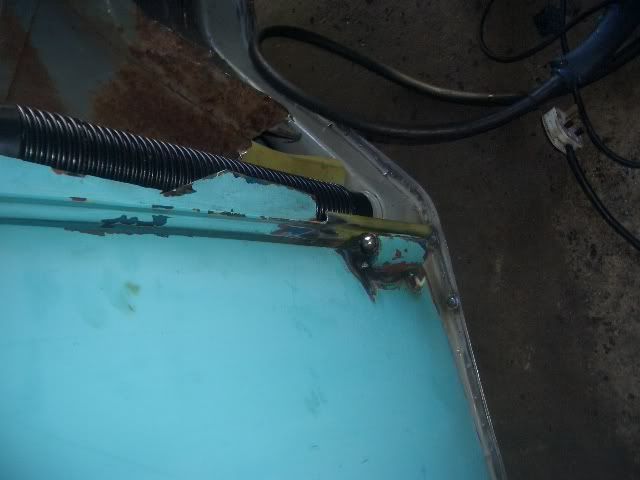
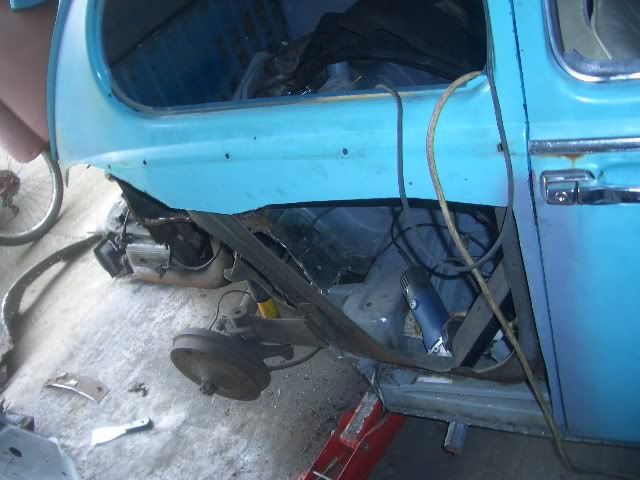
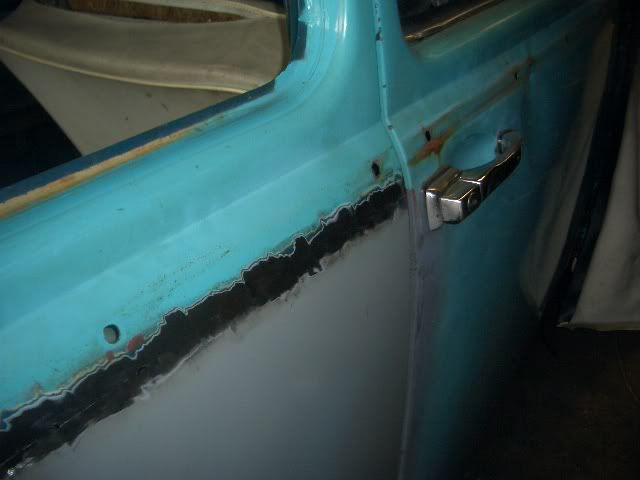
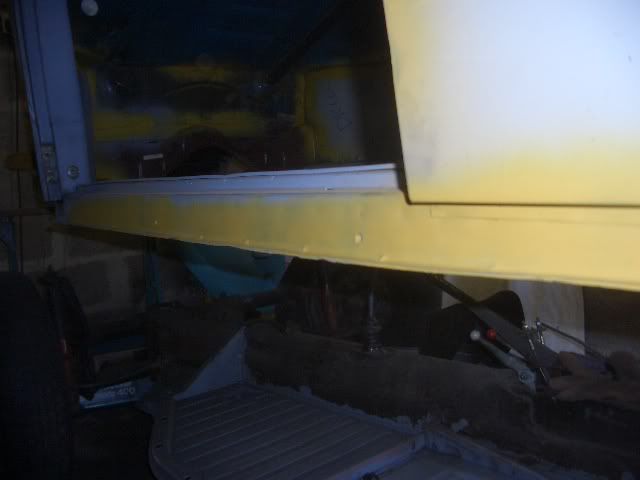
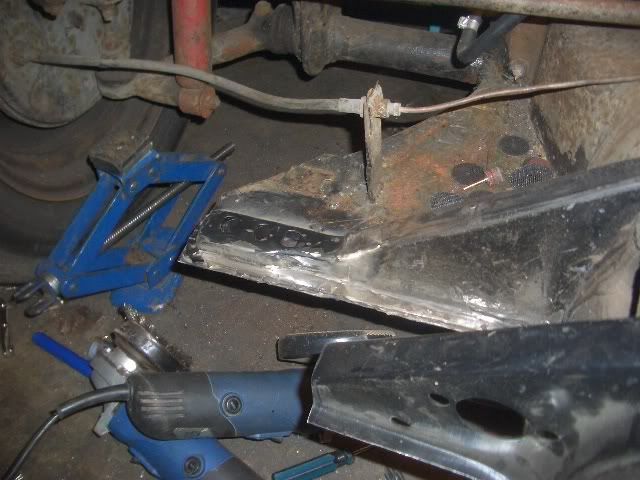
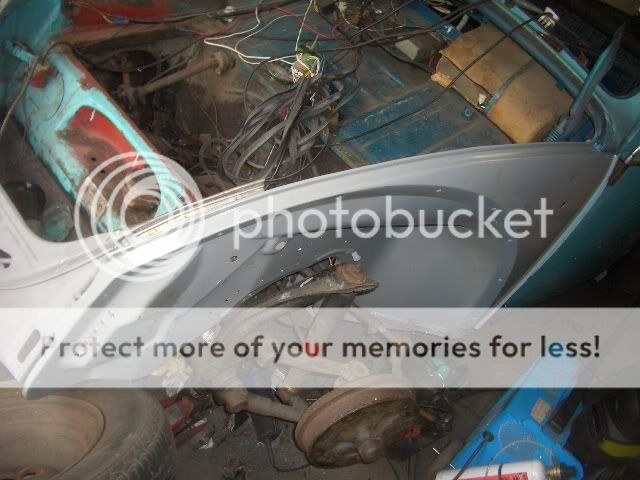
Without bracing the body, I cut out the passenger side sill.
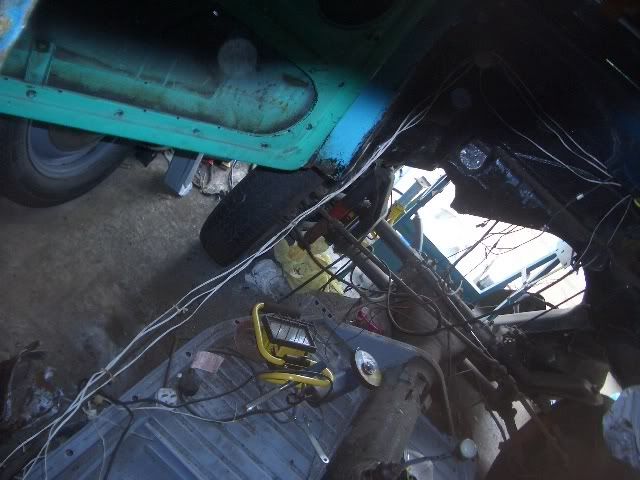
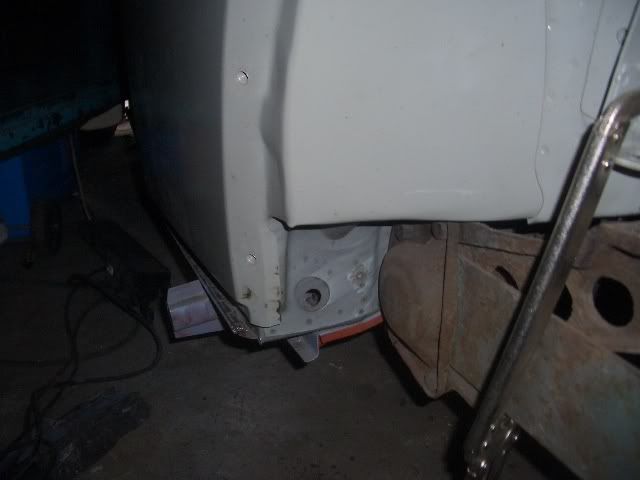
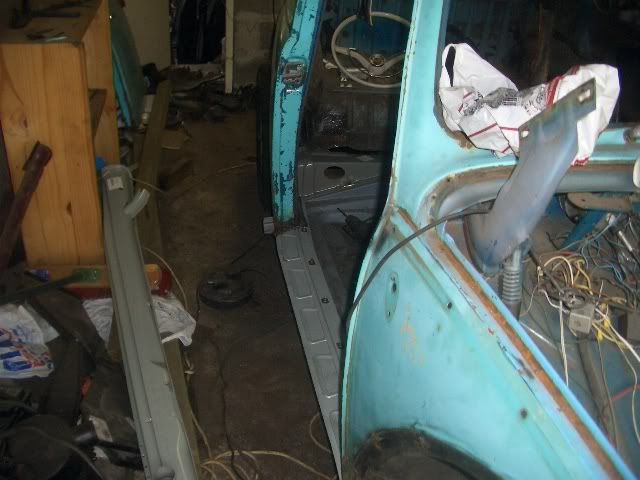
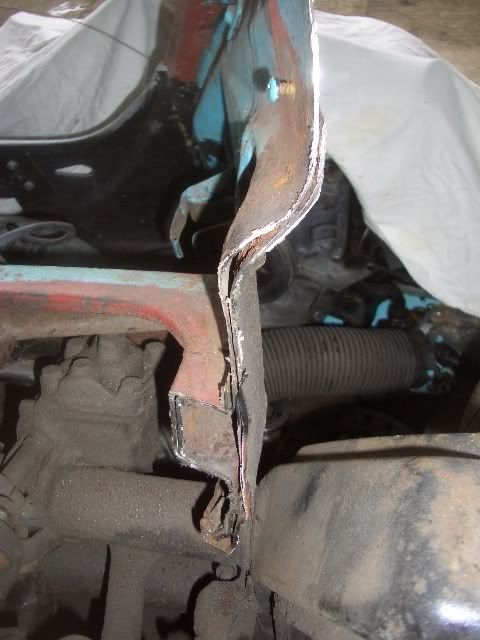
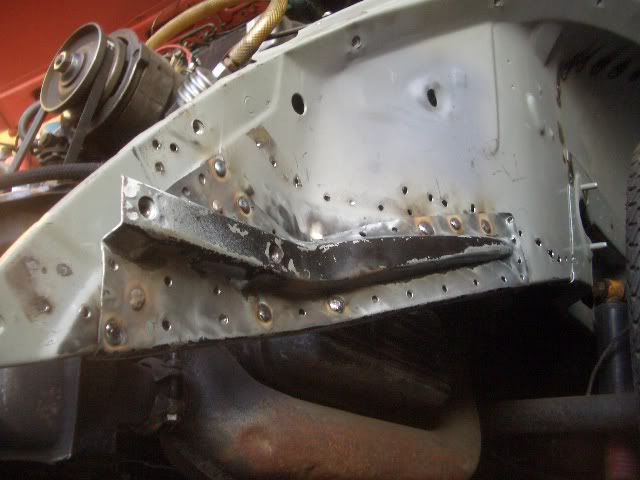
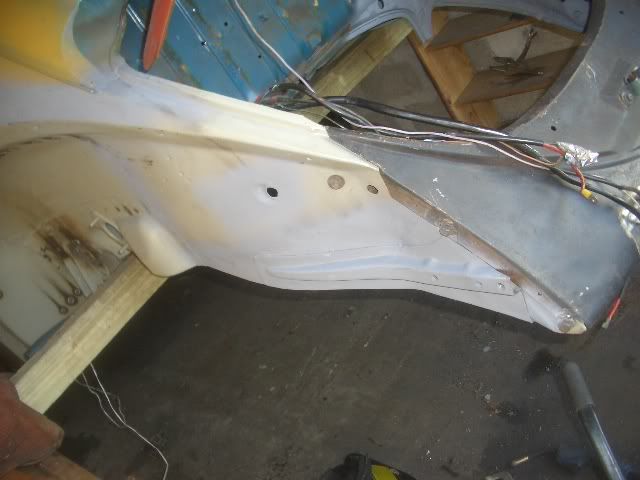
A friend and I then lowered it onto the chassis, and fitted the new sill. At the front, there was NO decent metal to weld to, so I had to make brackets to hold it in place until I could fit a new A pillar.
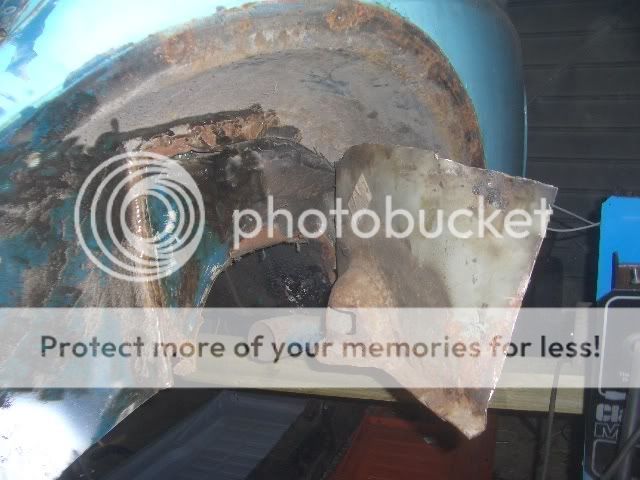
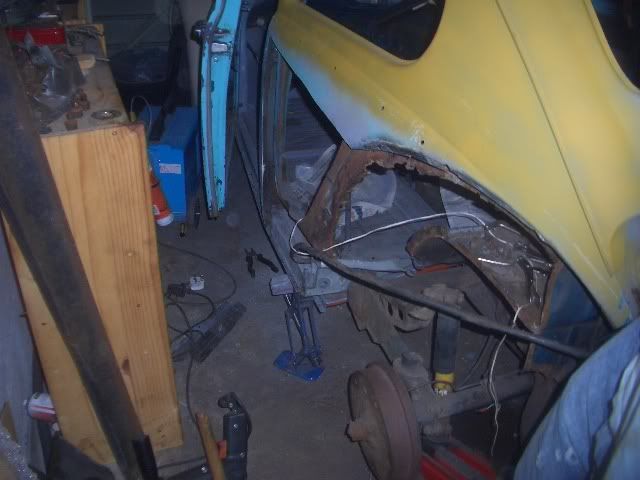
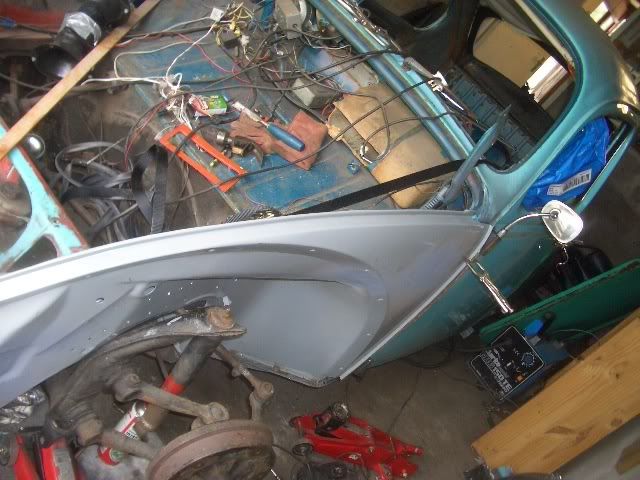
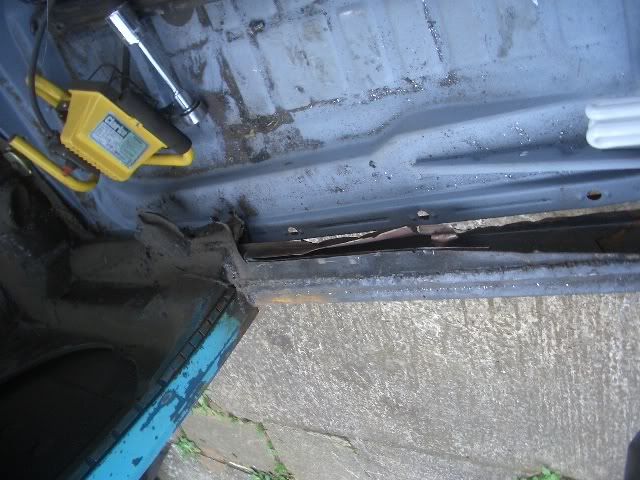
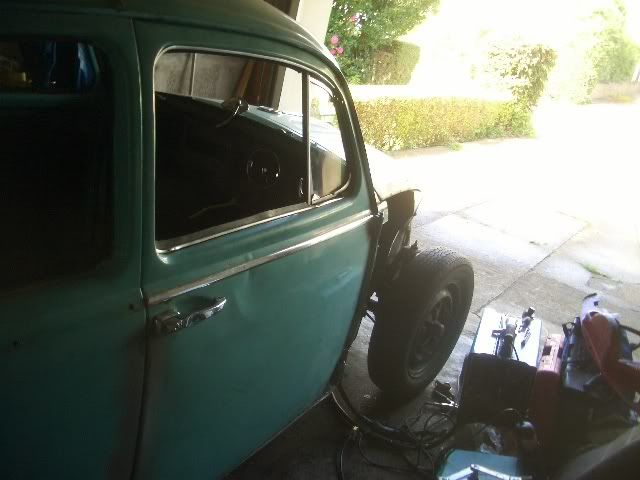
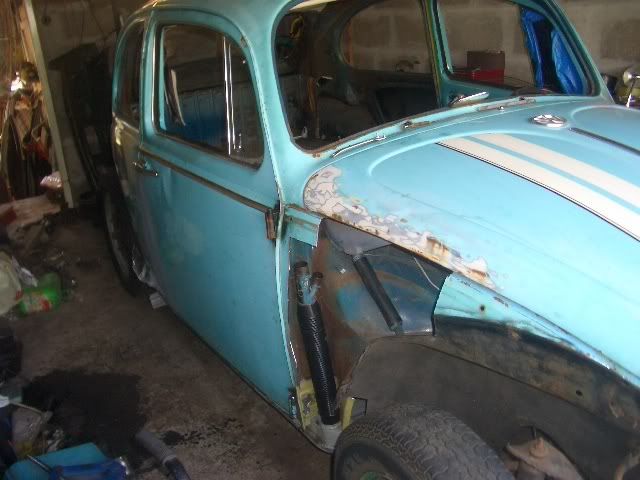
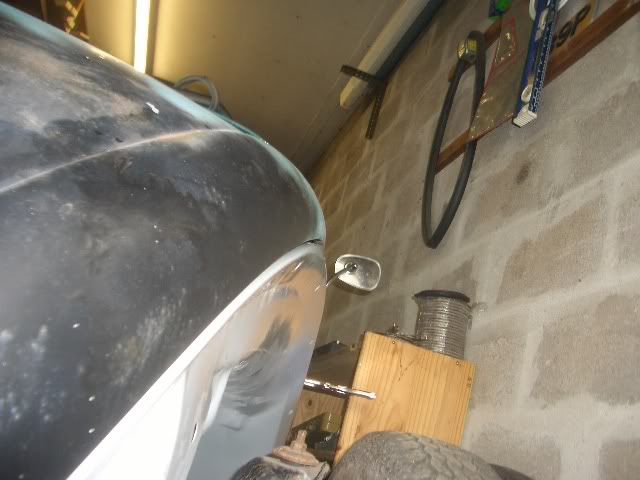
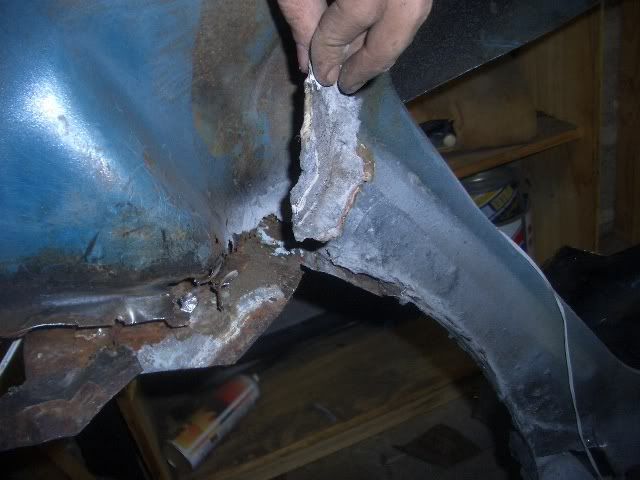
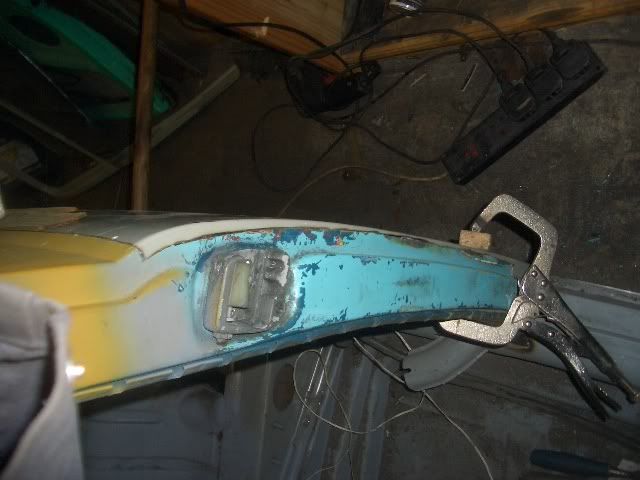
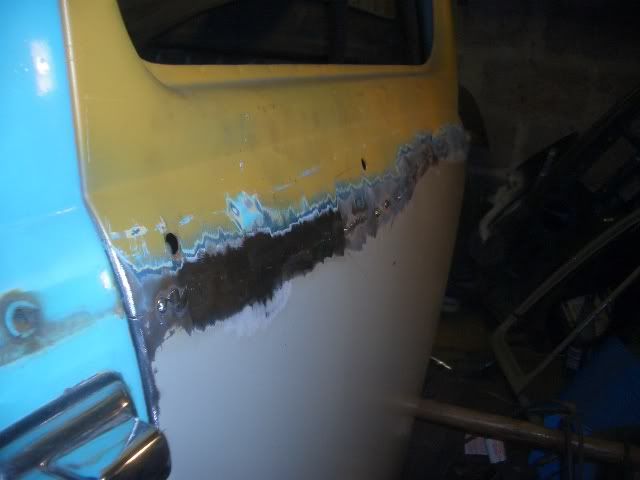
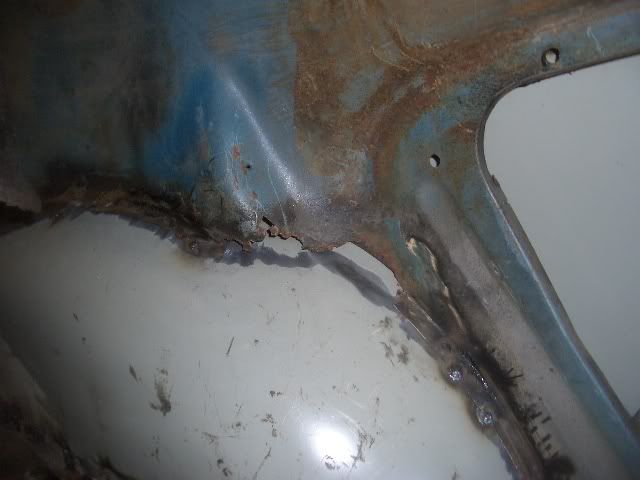
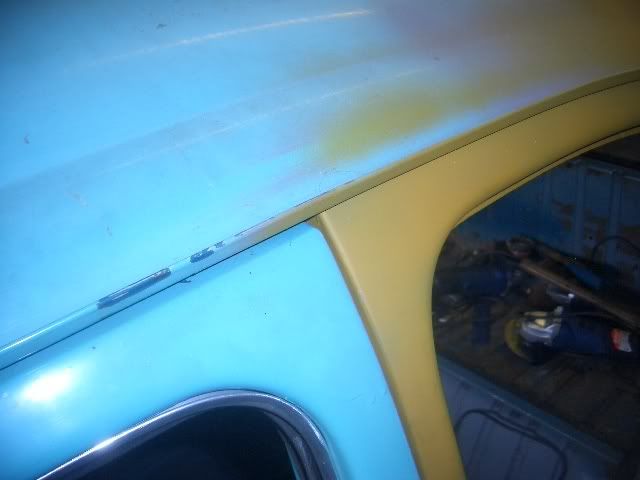
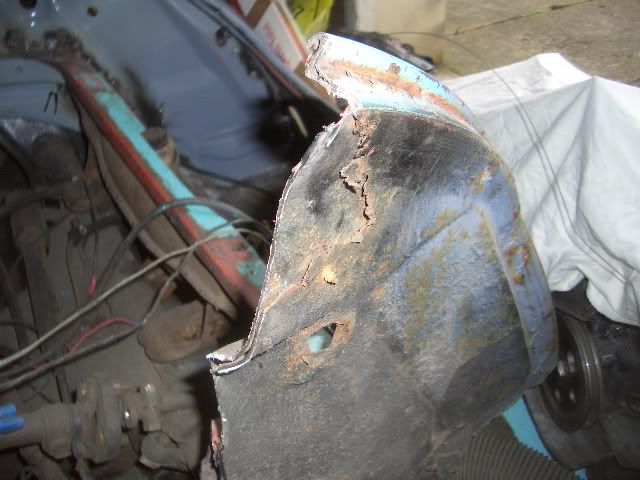
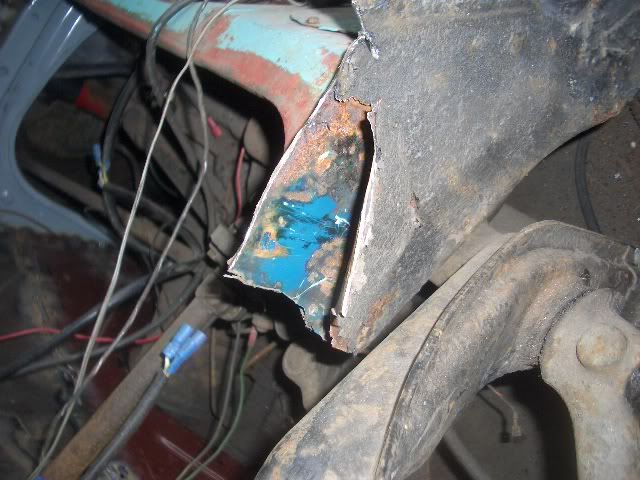
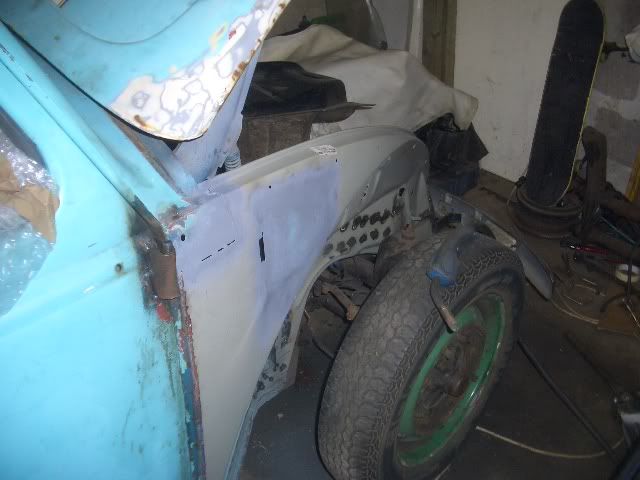
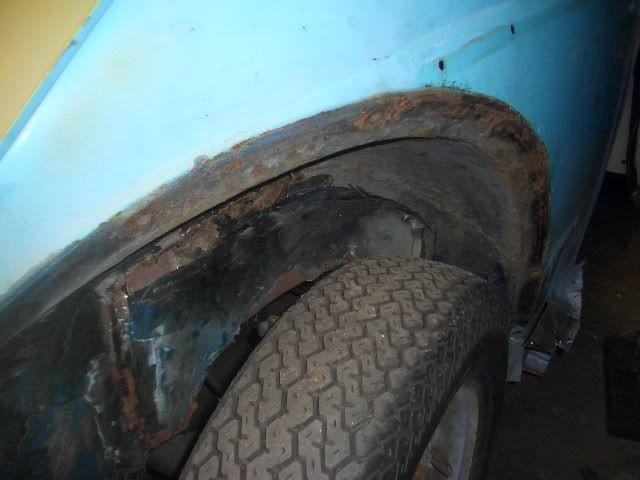
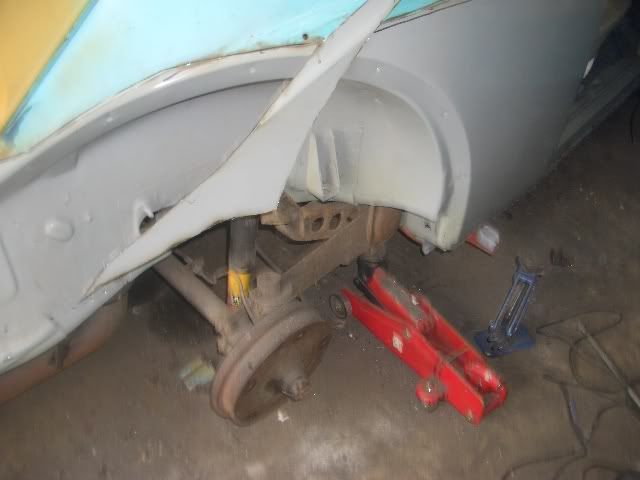
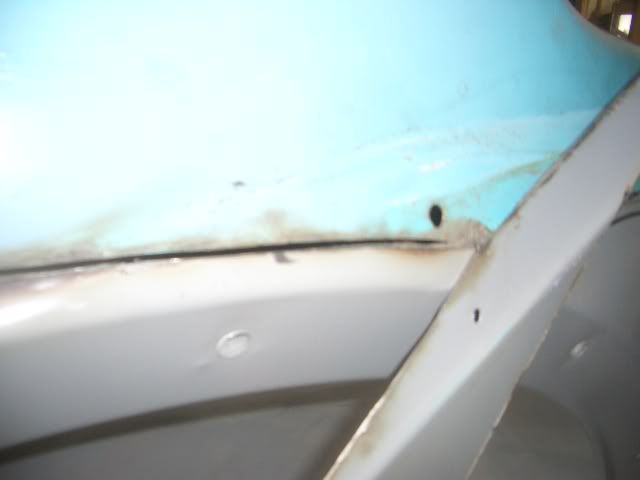
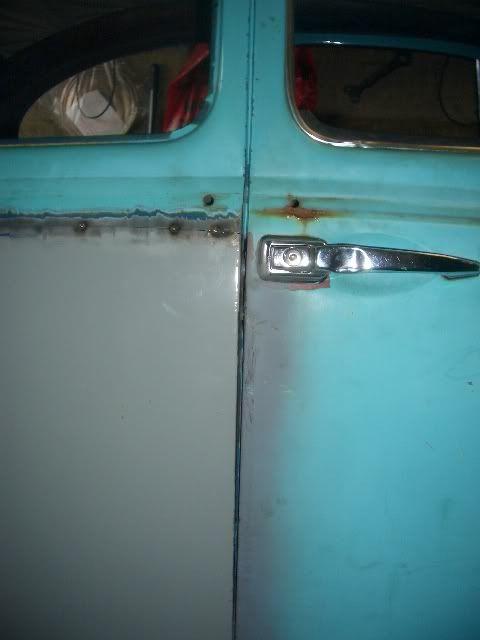
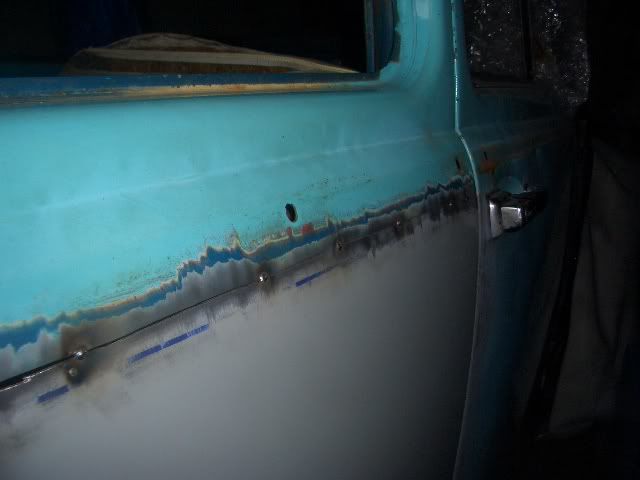
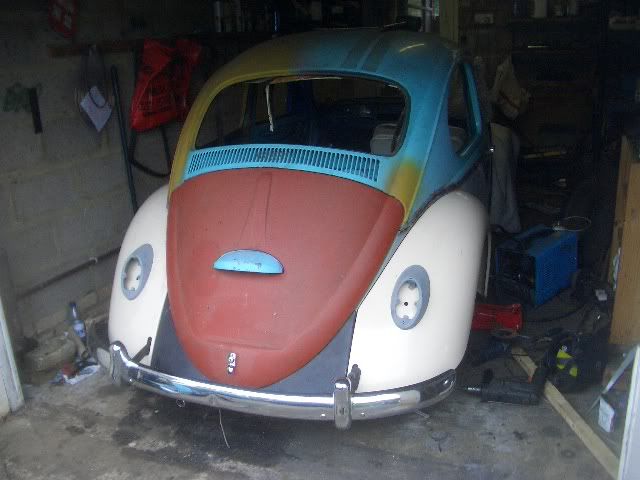
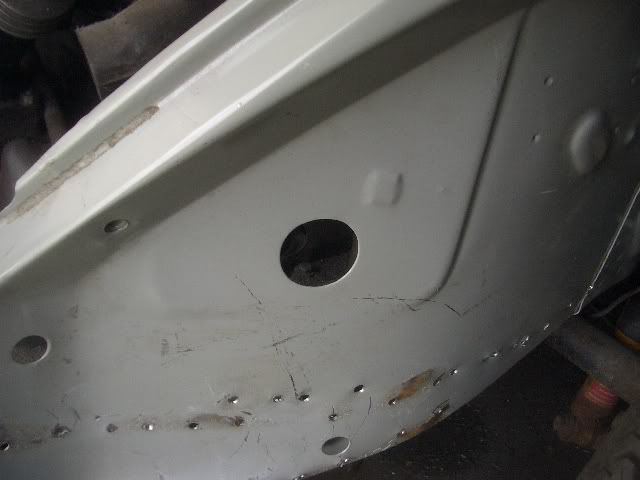
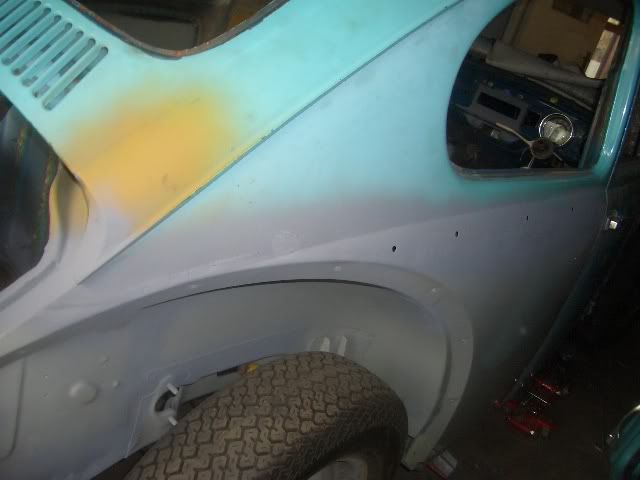
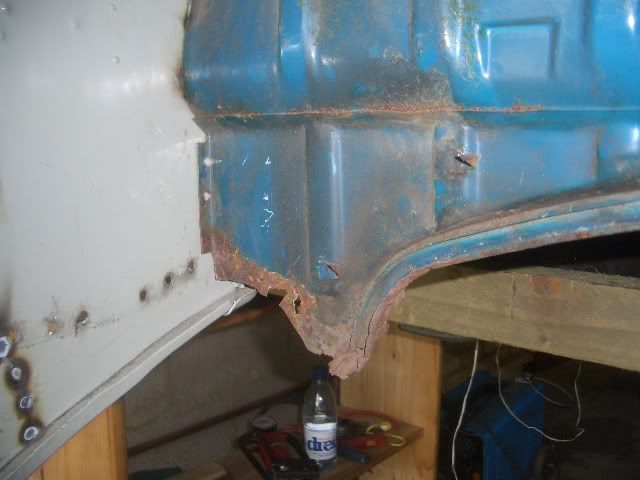
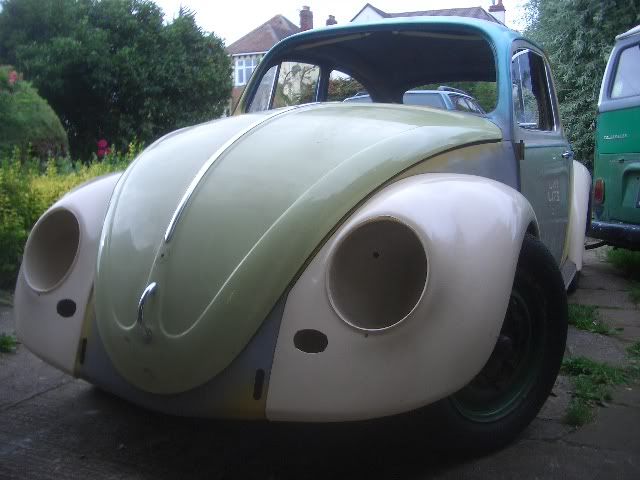
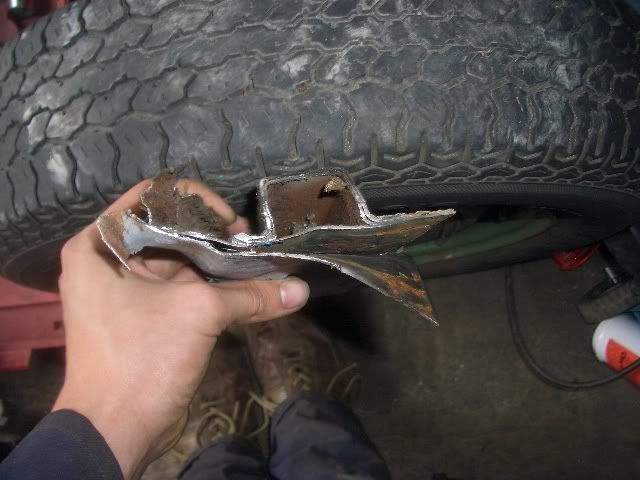
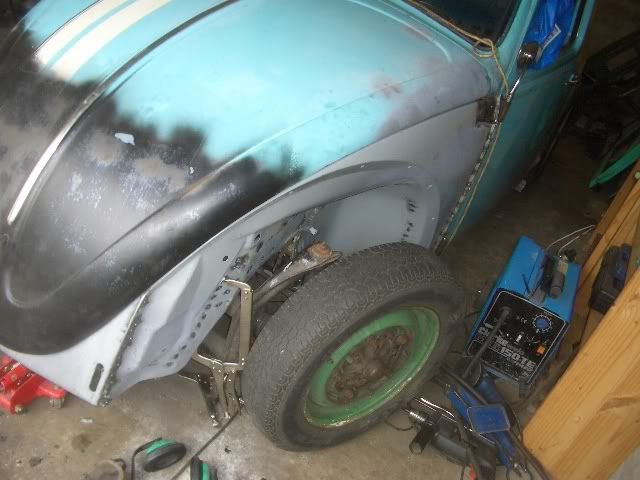
I then found the bodge artists had been at work on the front 1/4 panels too. Spot the double layered bits ::)
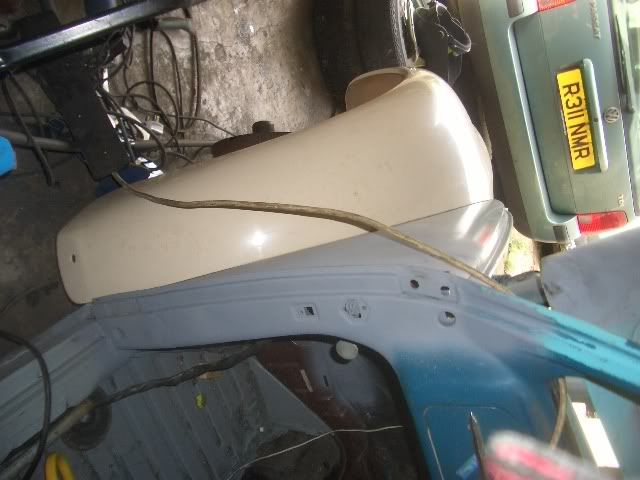
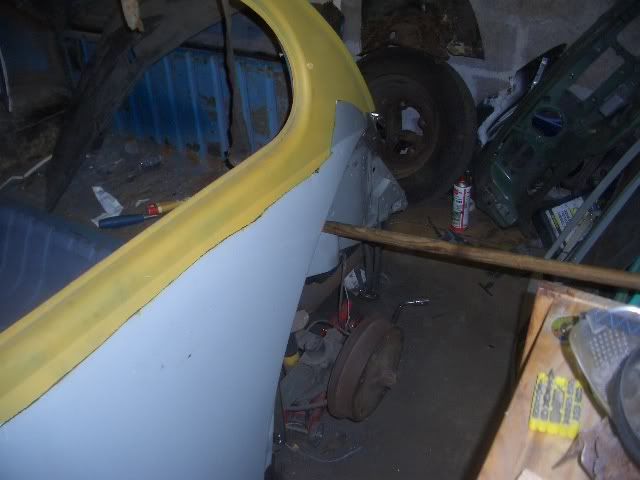
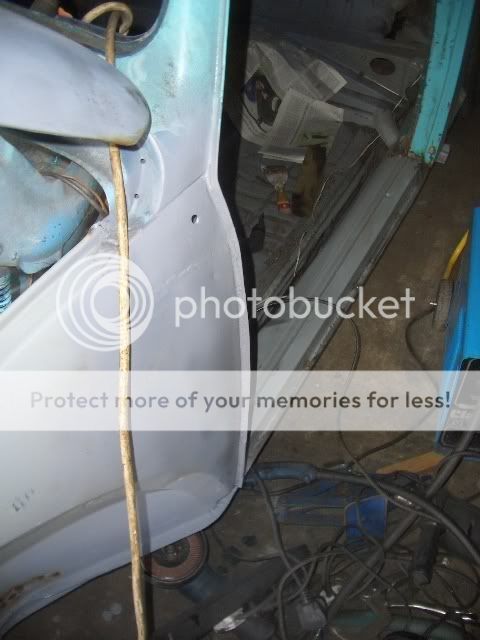
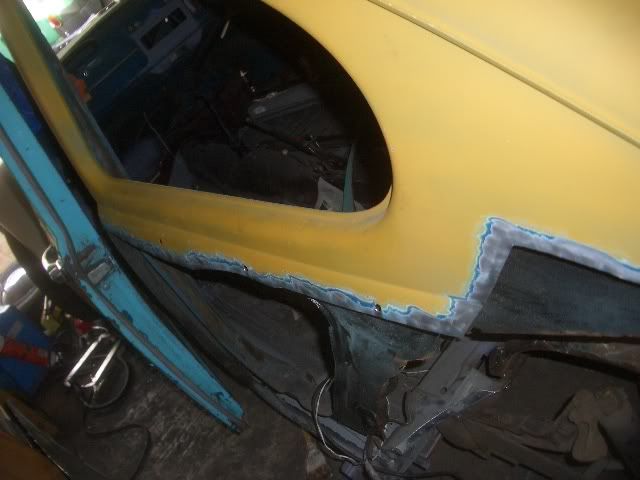
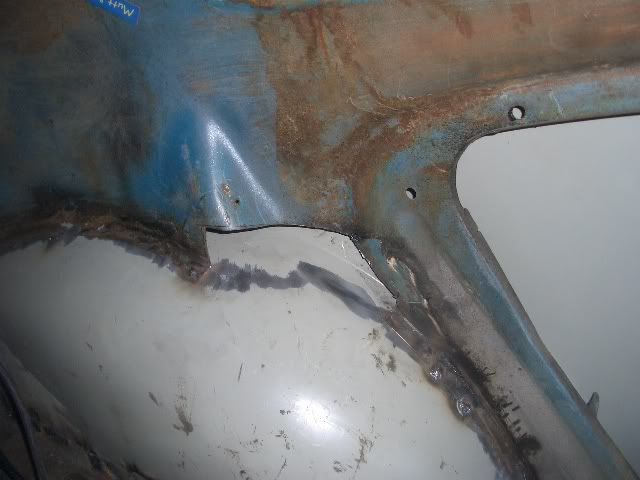
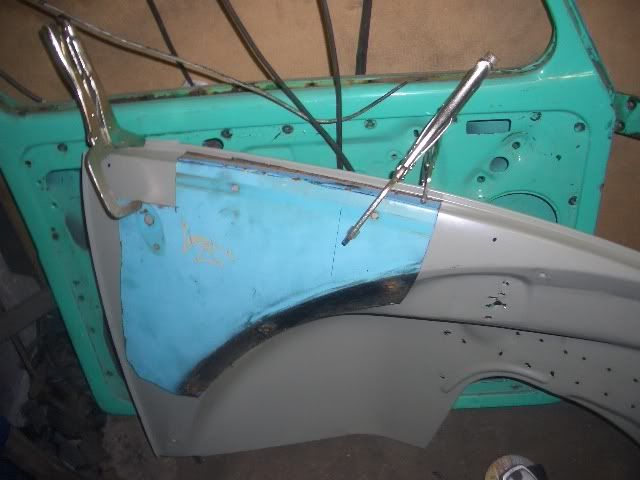
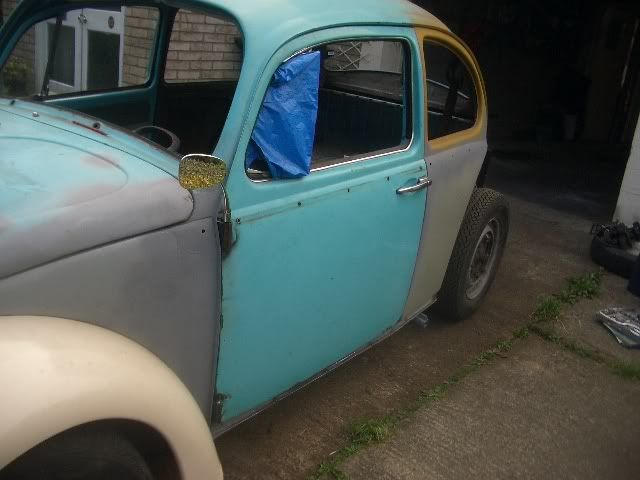
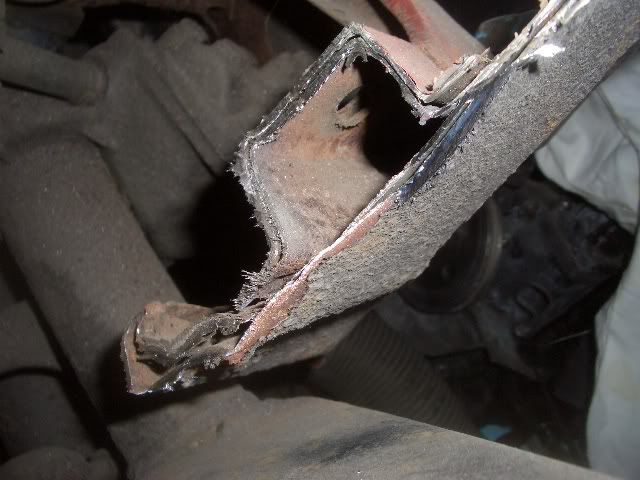
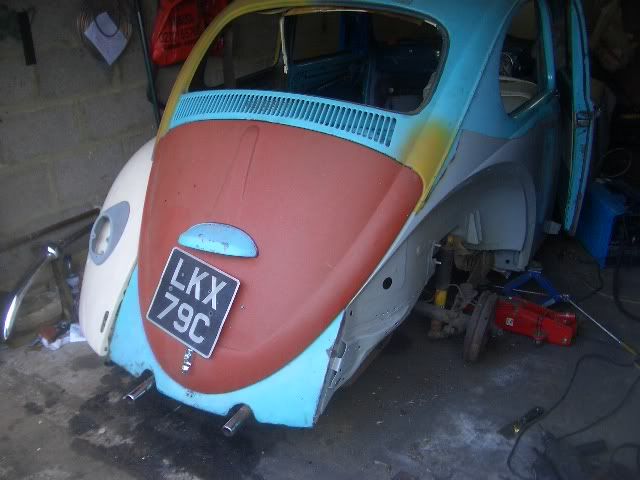
So it went from this...

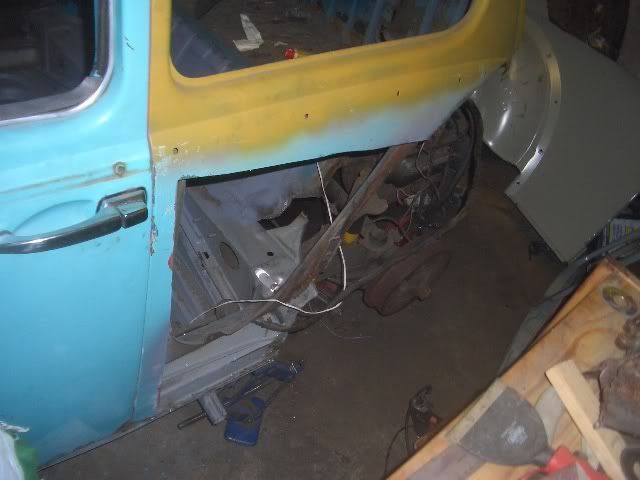
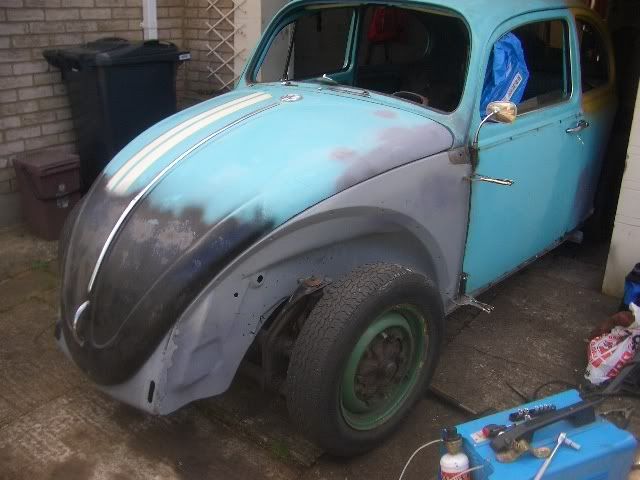
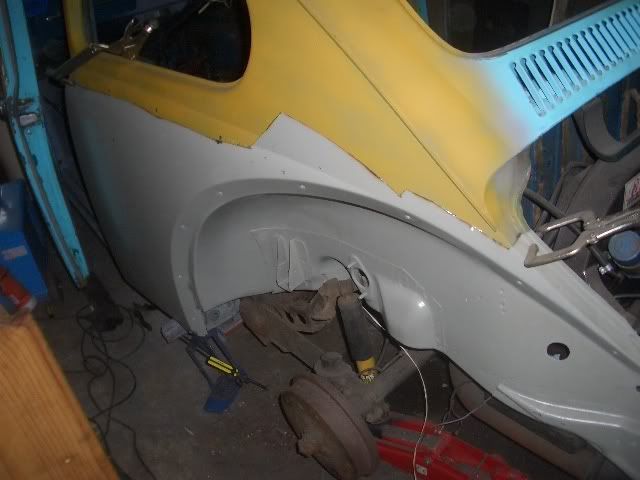
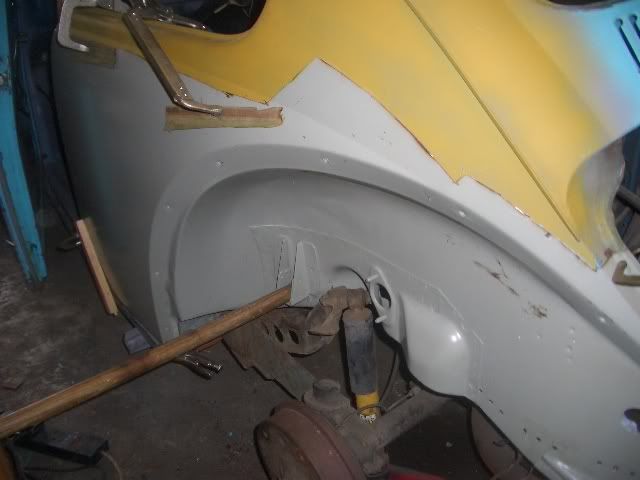
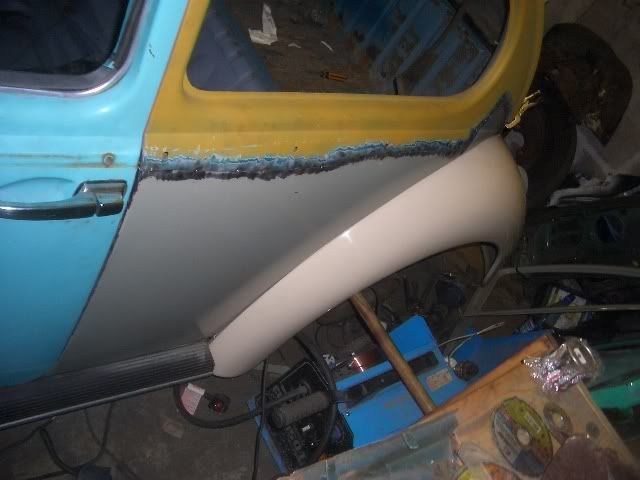
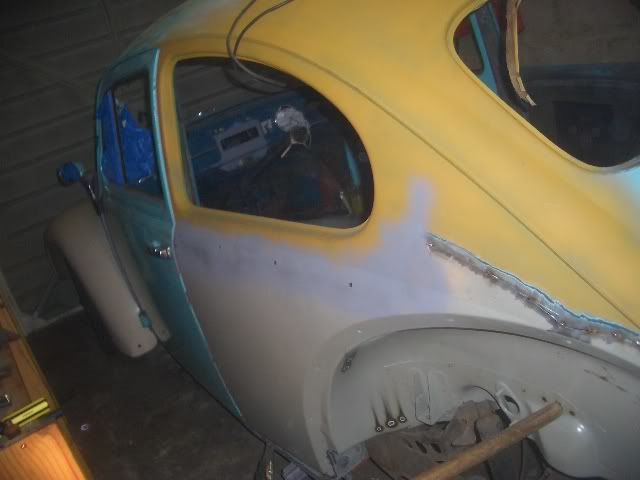
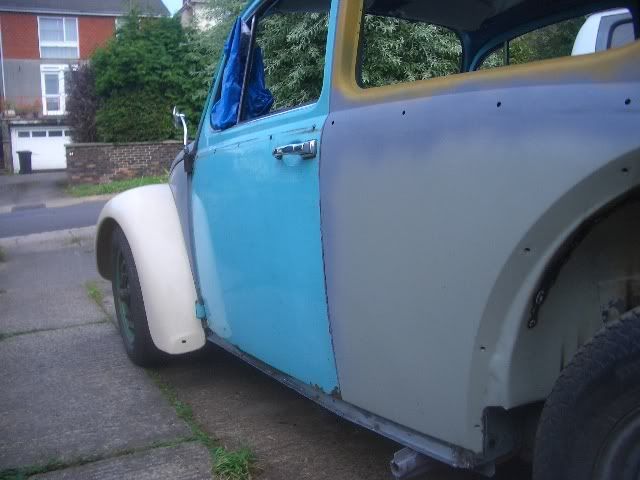
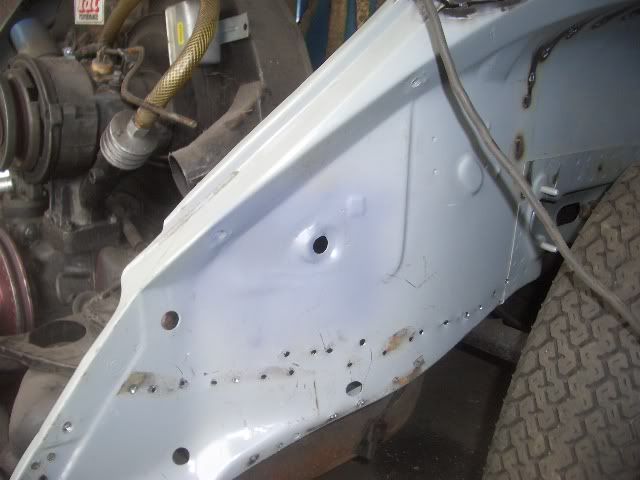
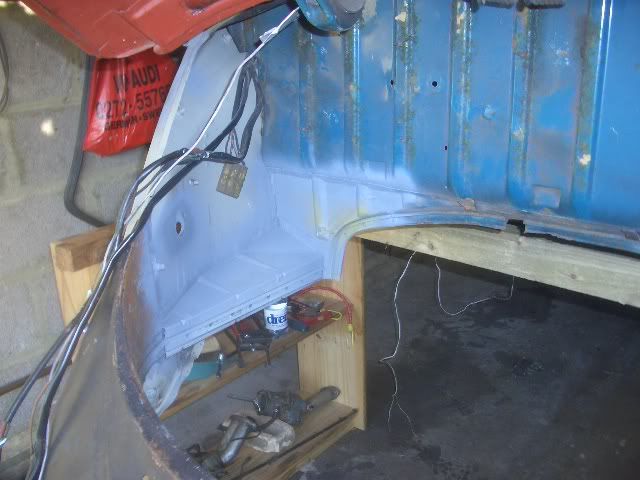
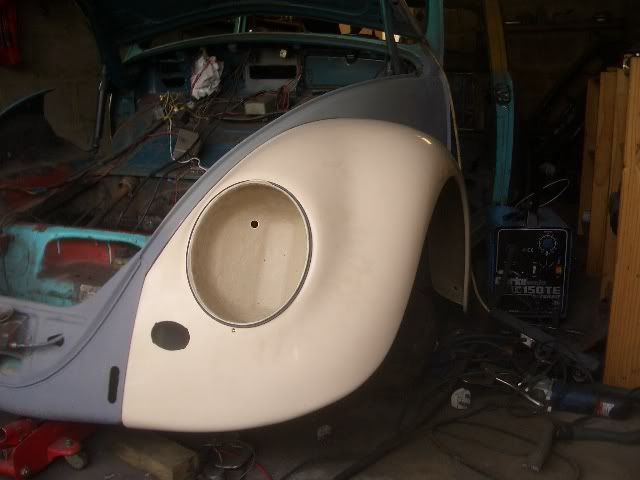
to this...

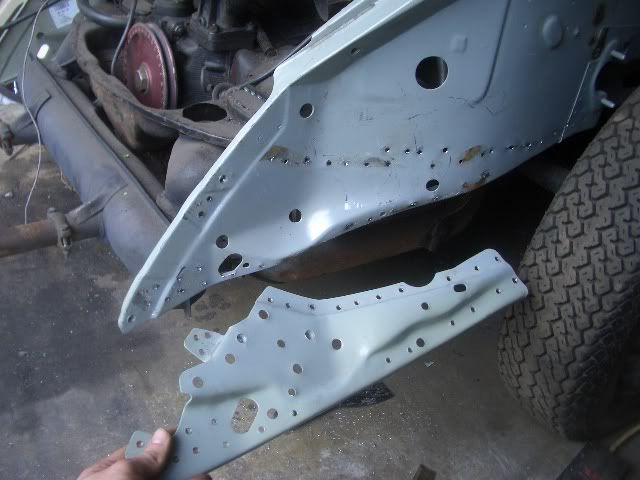
New panels are still (just) availiable from VW. But hard to obtain now production has stopped.
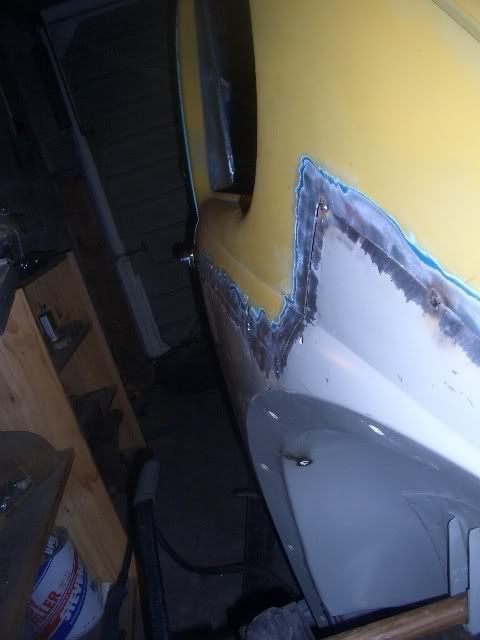
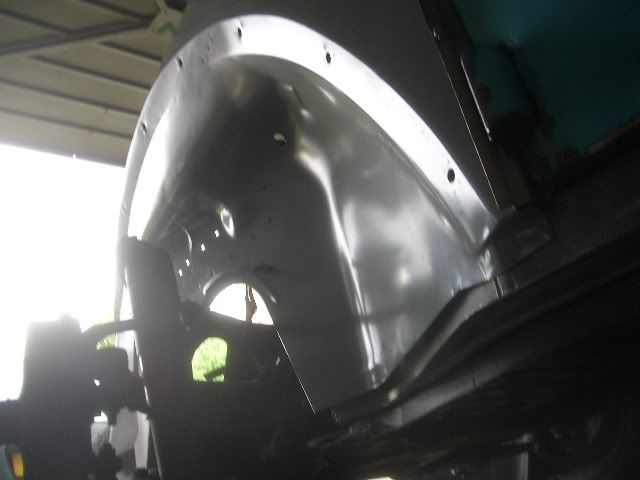
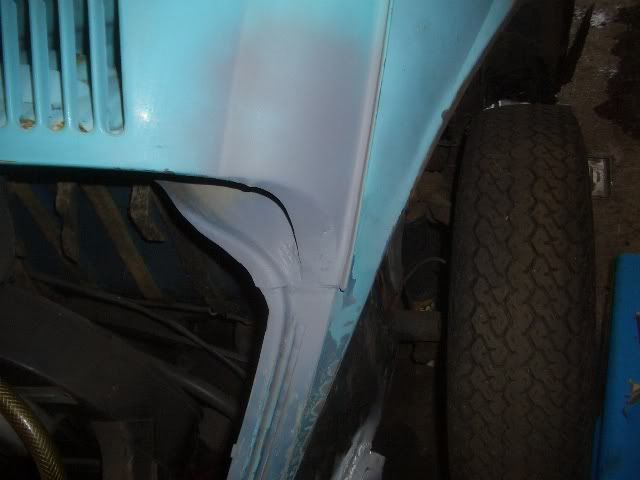
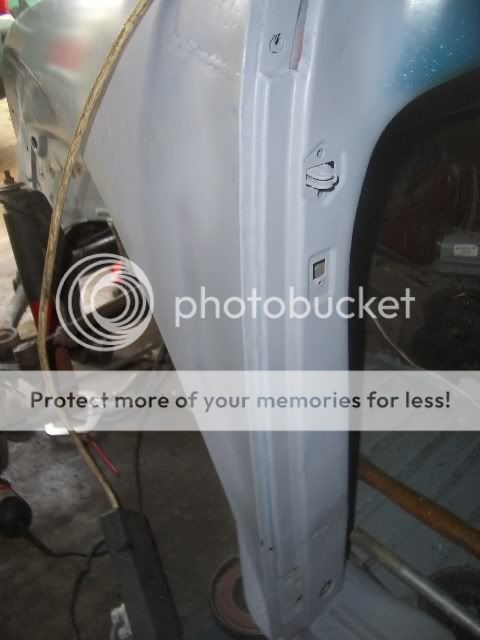
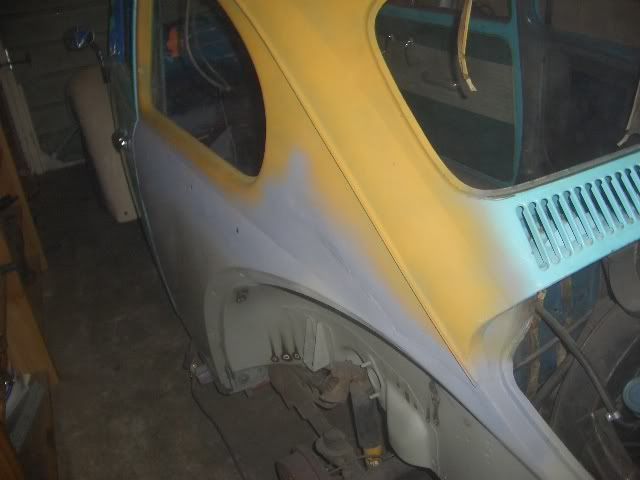
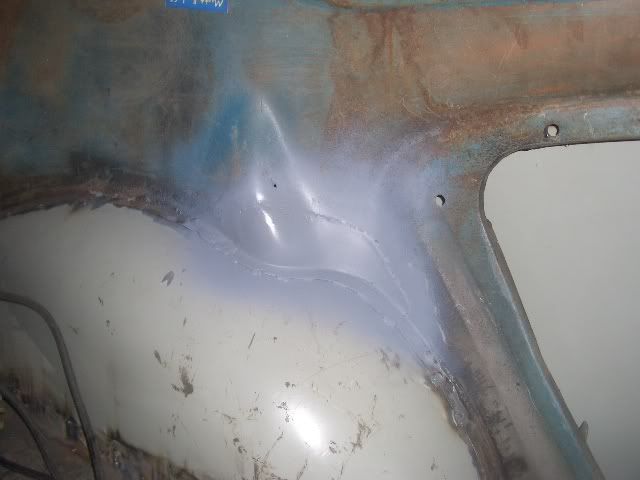
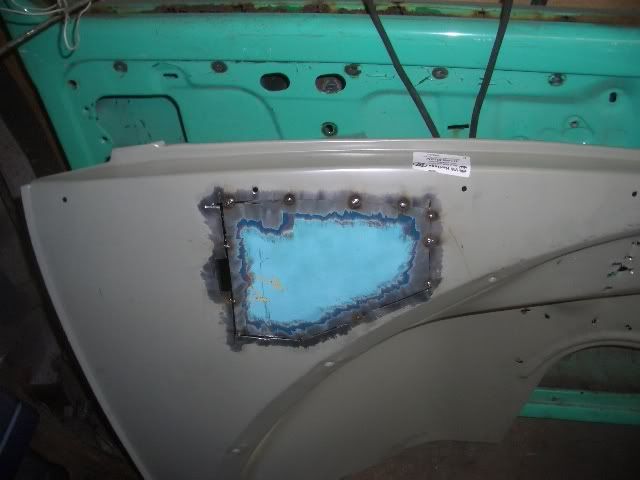
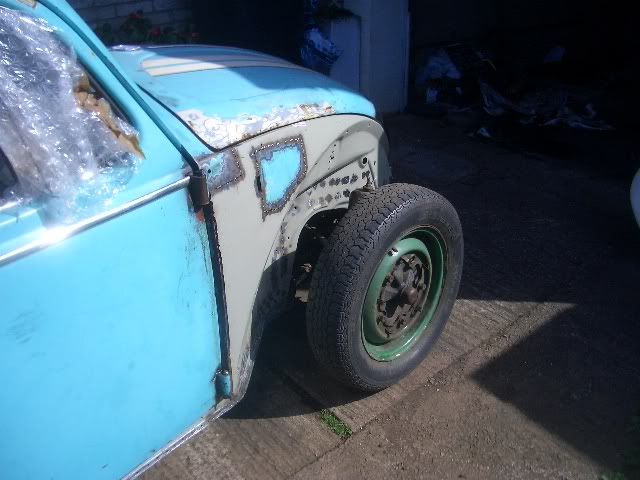
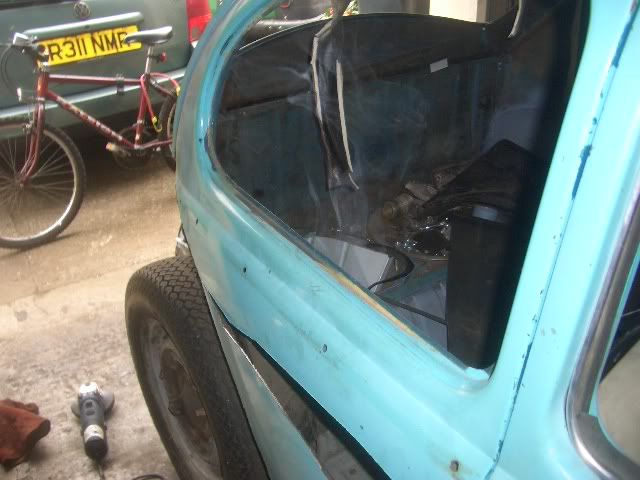
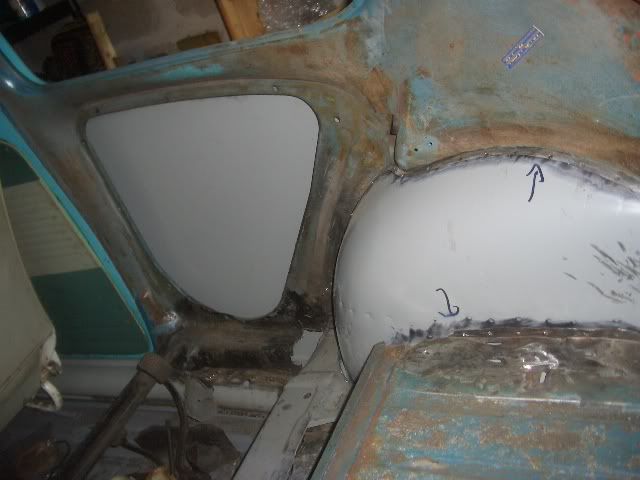
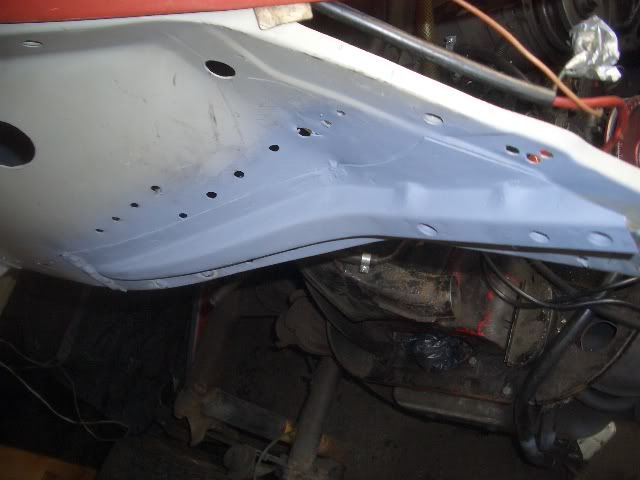
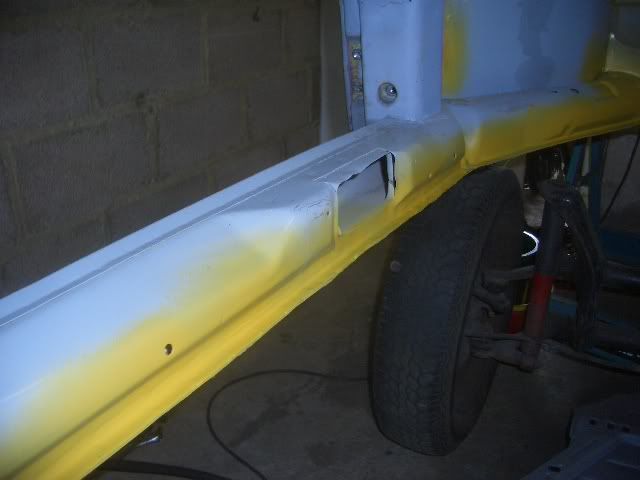
Front 1/4 welded in...
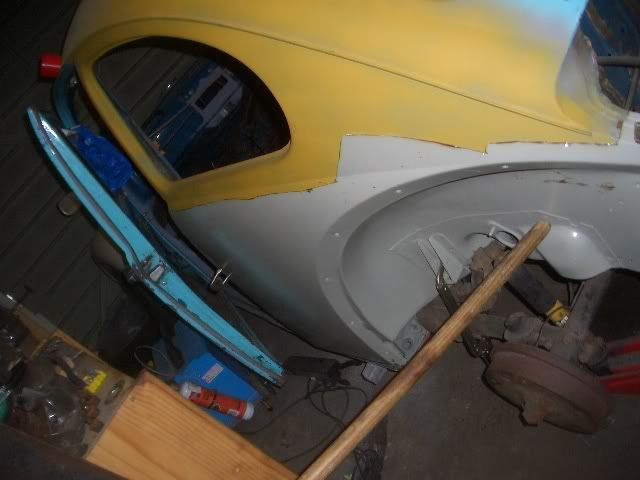
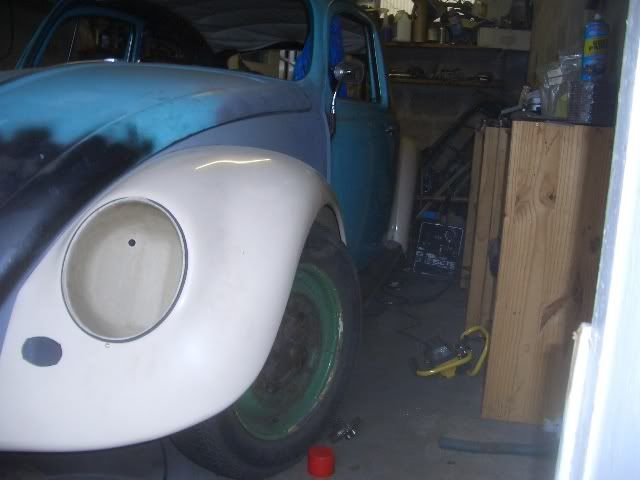
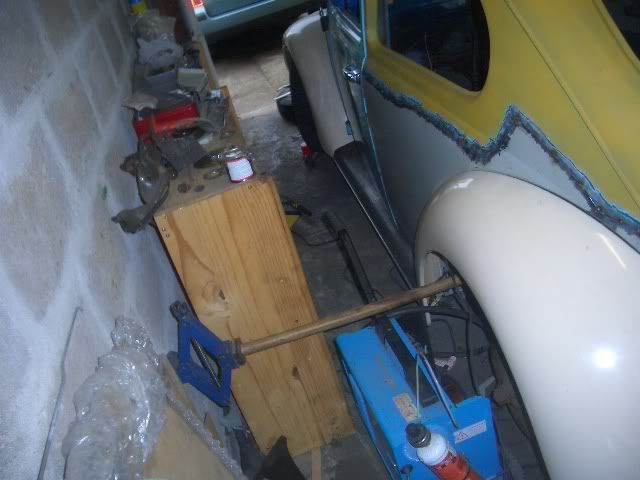
And made a bit prettier
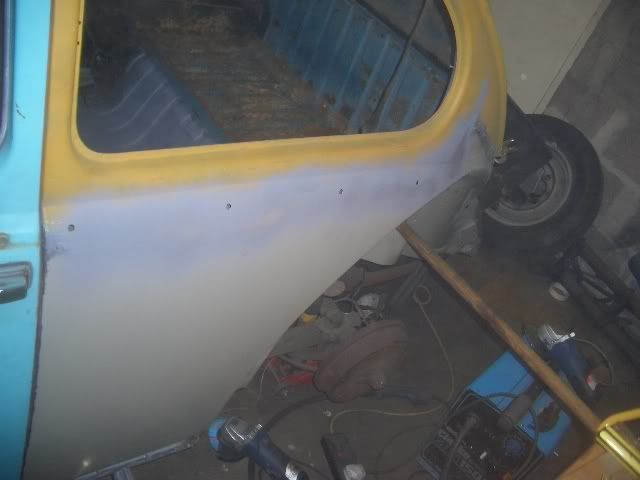
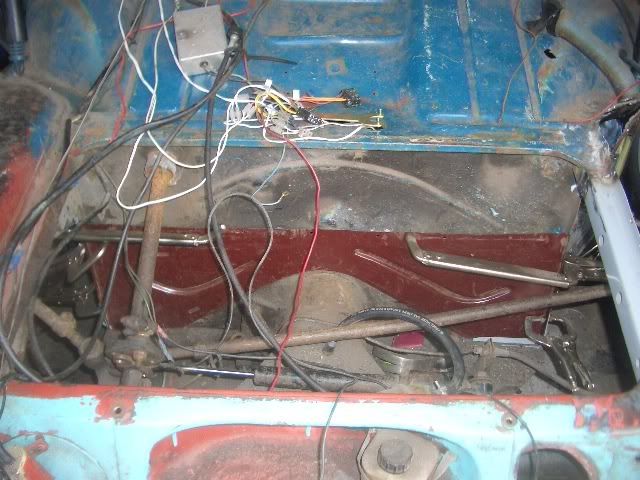
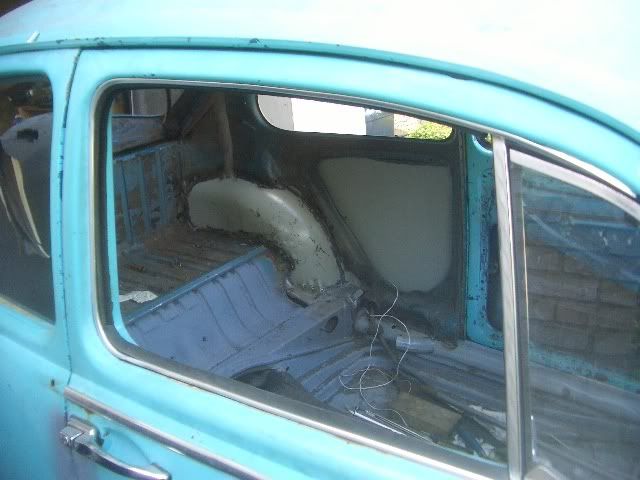
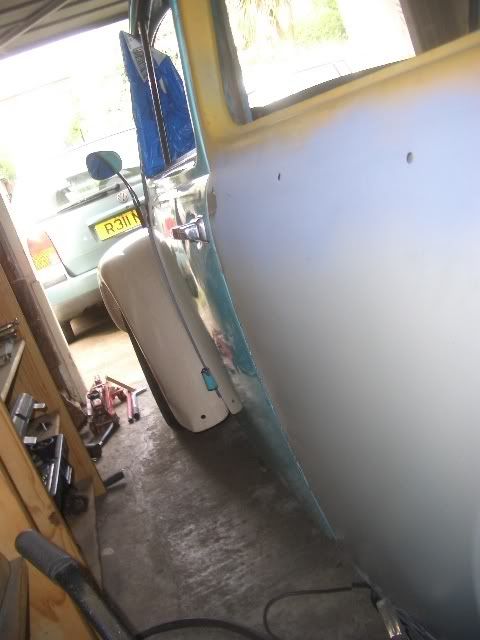
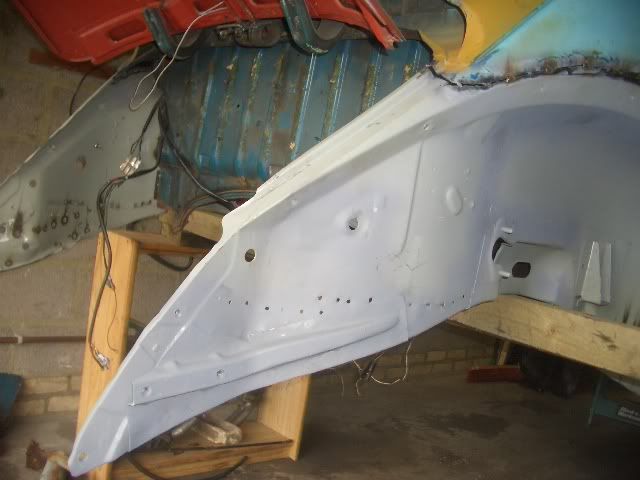
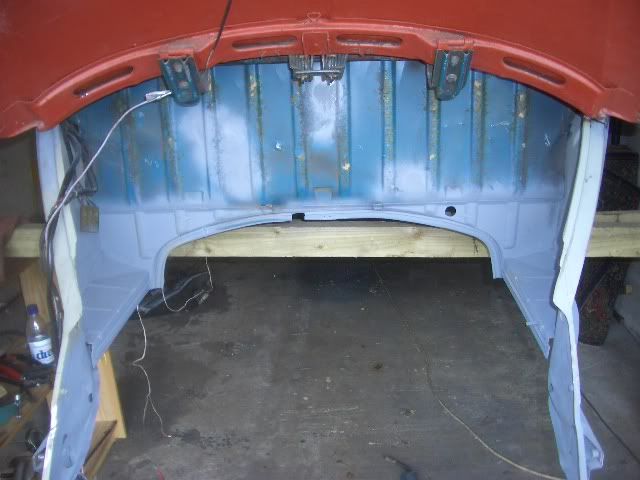
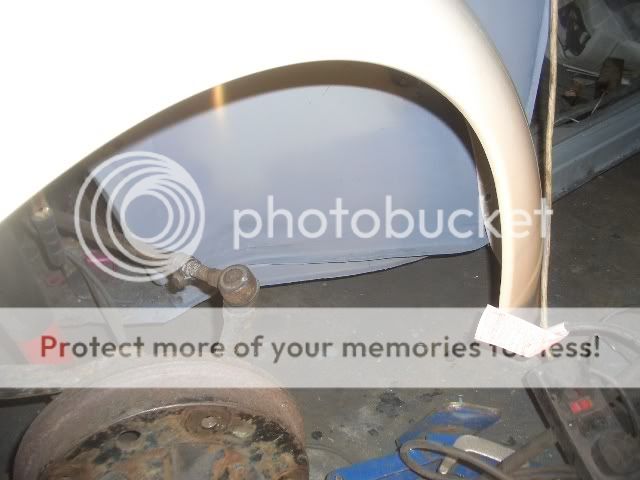
Clean inner wings
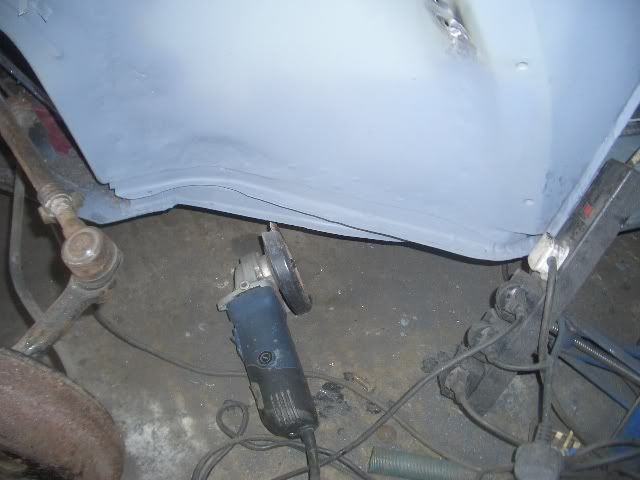
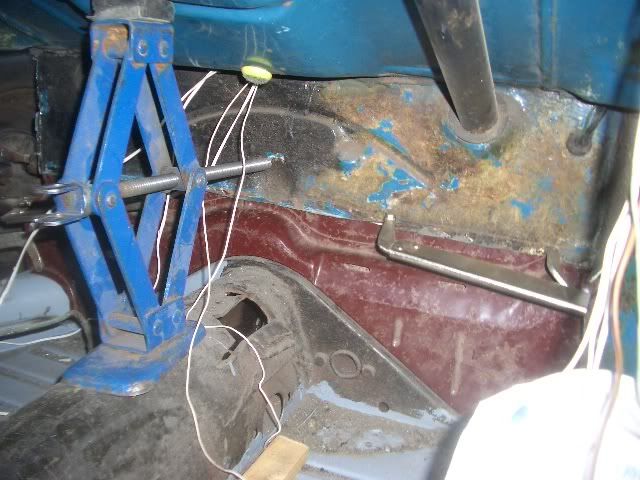
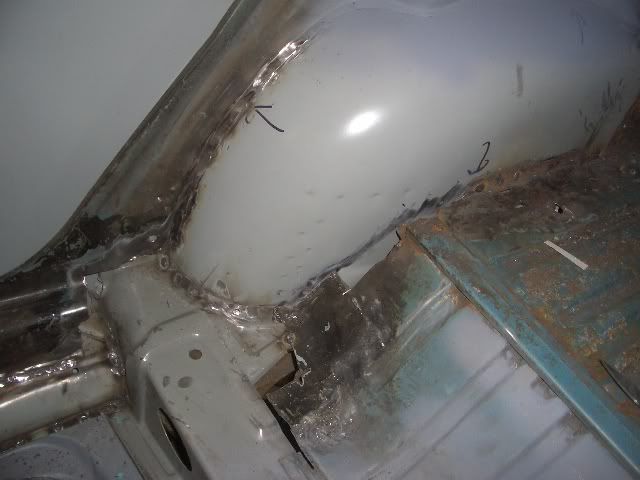
And a new A pillar bottom.