Another UK member here
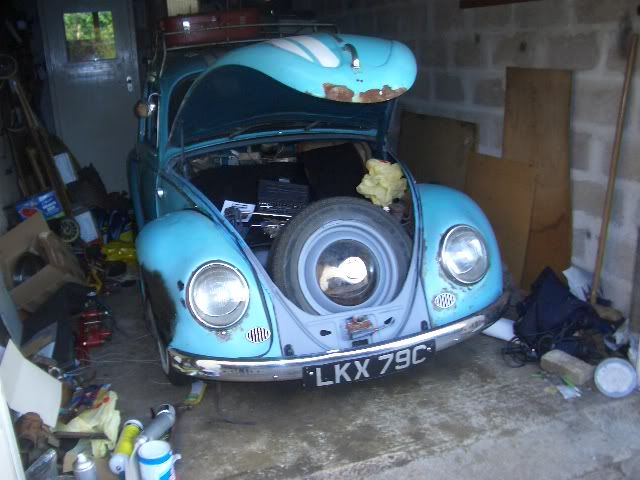
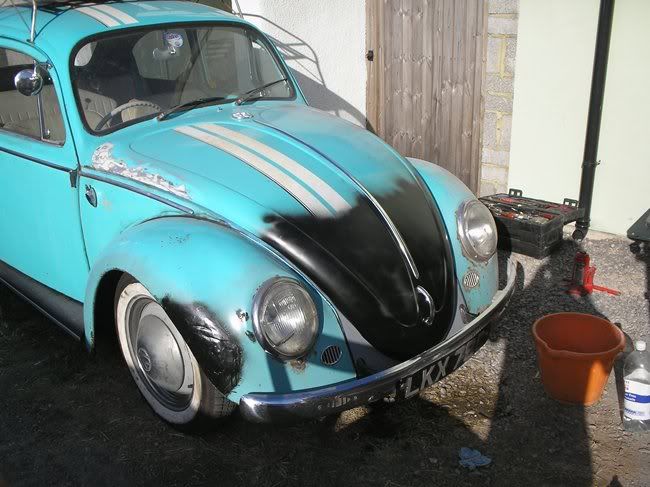
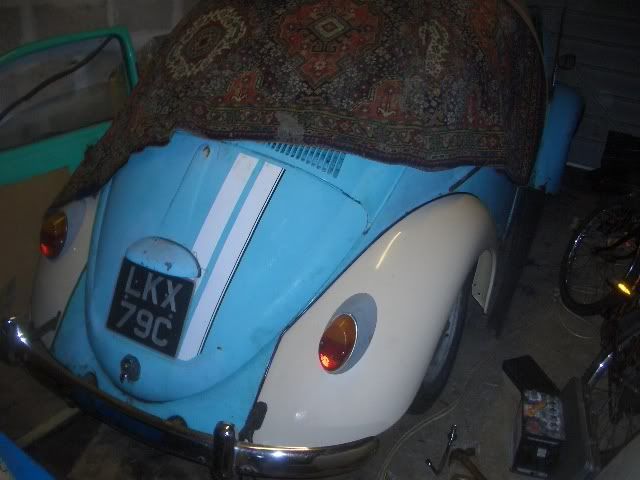
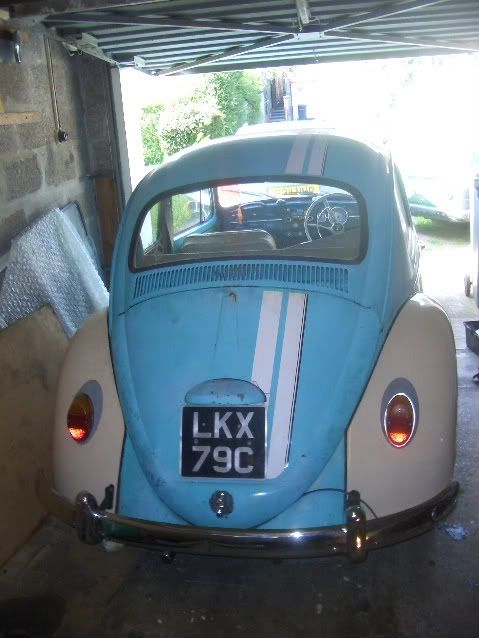
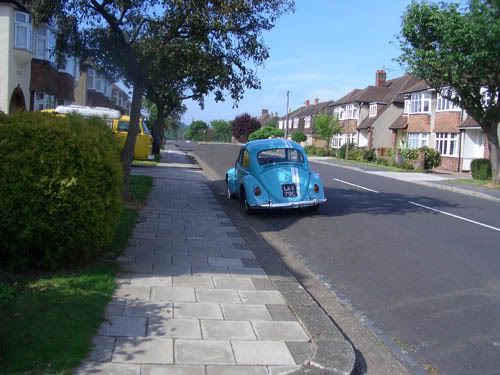
This is my '66. I bought it when I was 16 as my first car.
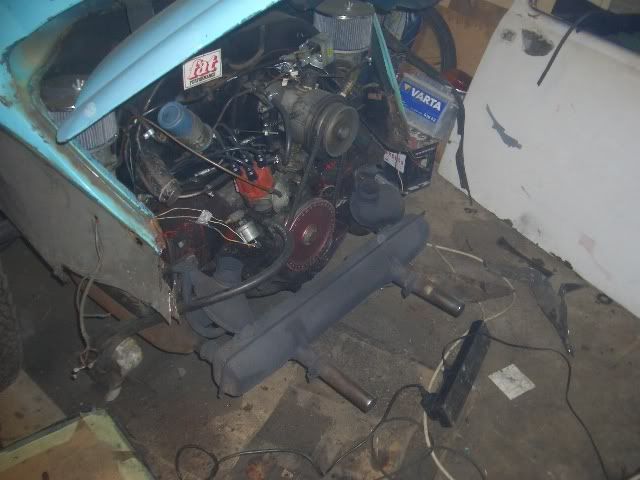
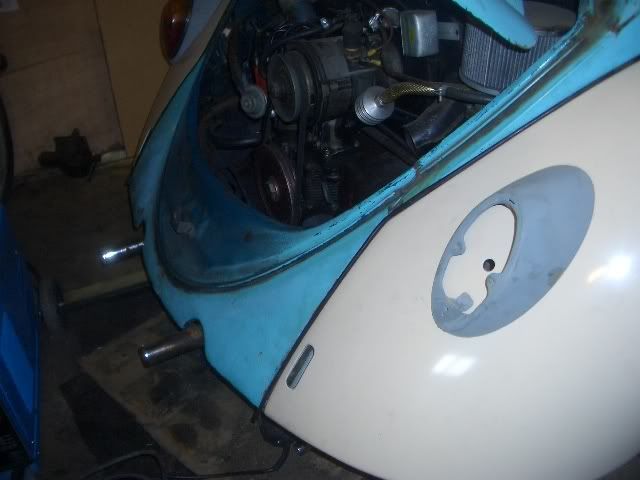
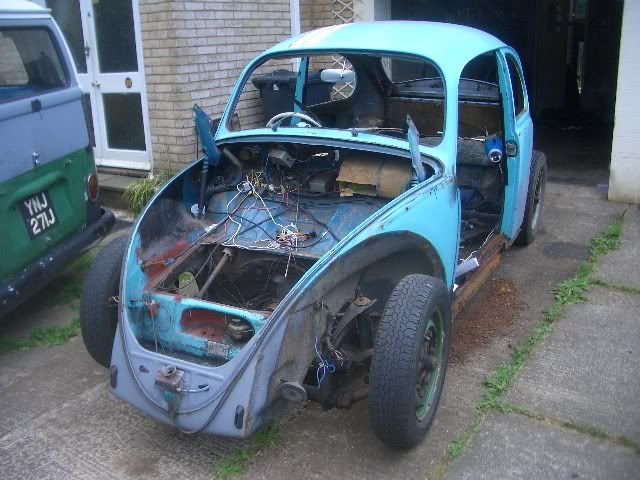
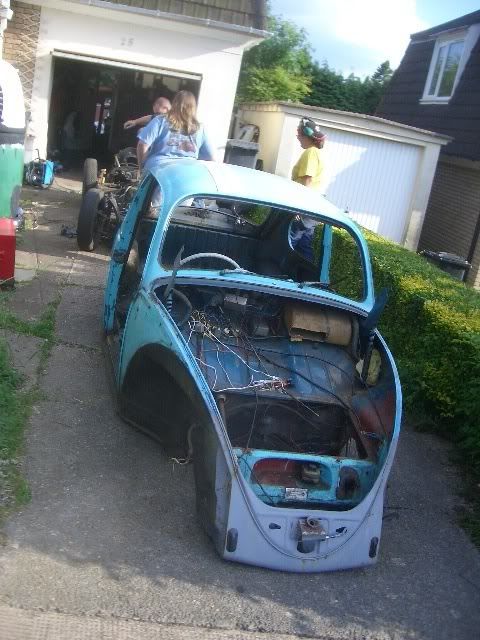
This is the day it was delivered, I won it on eBay and only saw it in the dark before it was delivered. No MOT or tax (so not road legal) when I bought it, but it wasn't very expensive.
In the UK, we can't drive til the age of 17, but I thought we should take it to an MOT so my dad could drive it until I was able to.
Of course, it broke down on the way to the MOT station at the end of my road (with my dad driving)...
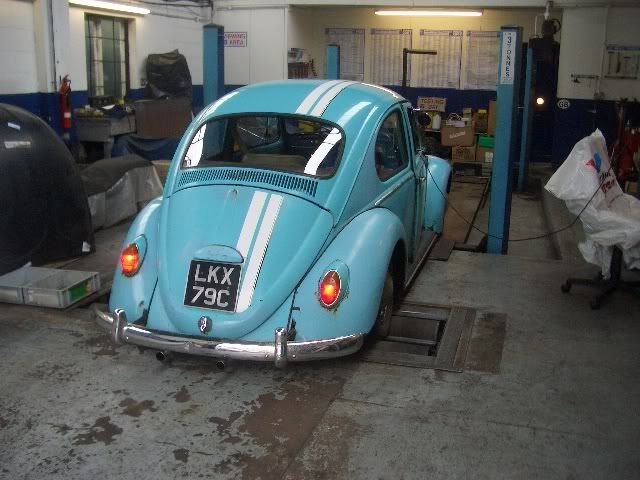
So we got a tow truck, and got it to the garage.
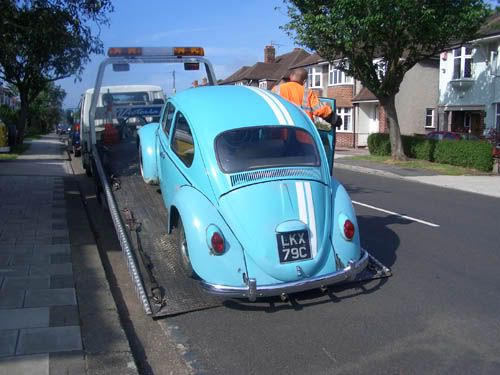
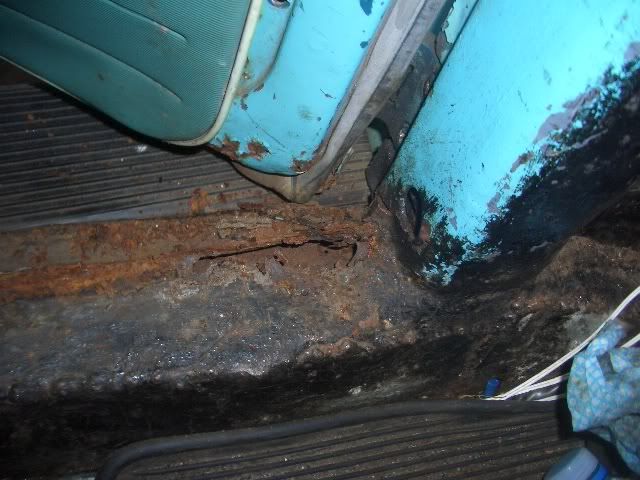
A few days later, the garage called to let us know it wasn't going to pass an MOT any time soon.
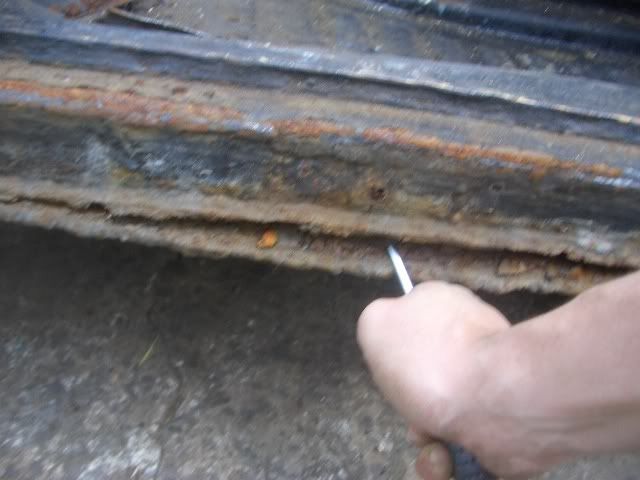
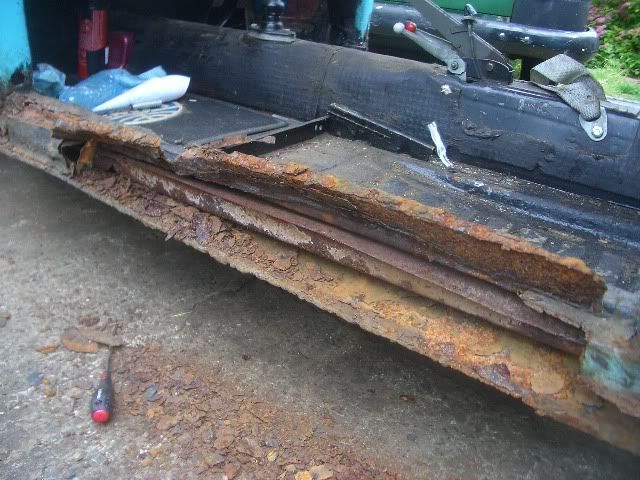
They reckoned it would need more than £1000 (~$2000) worth of welding just to let it see the road, and a few parts too.
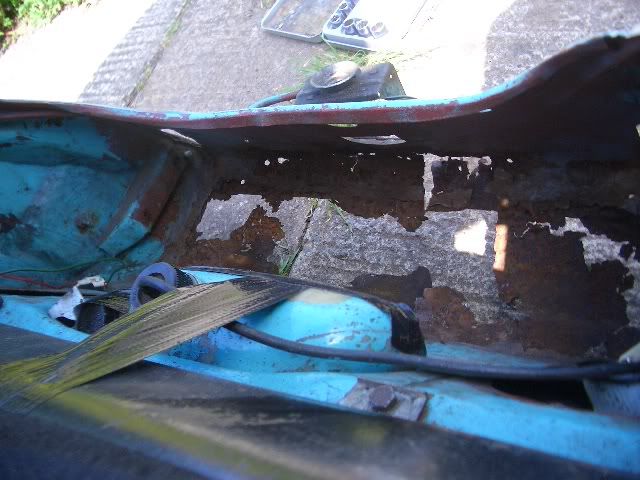
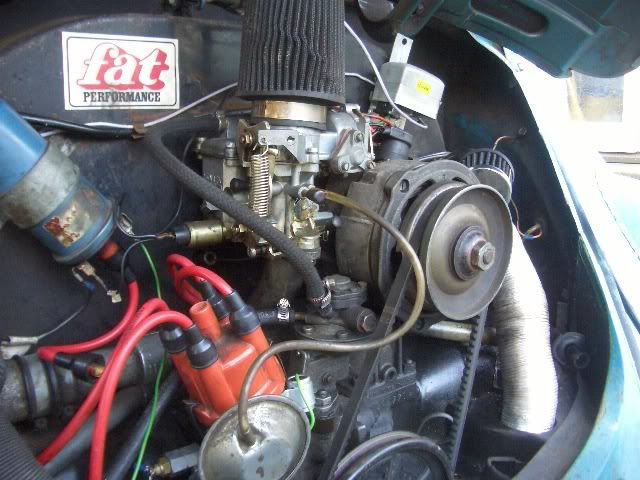
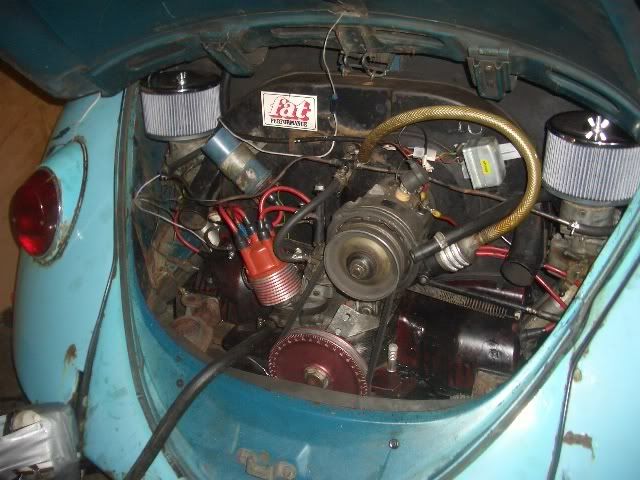
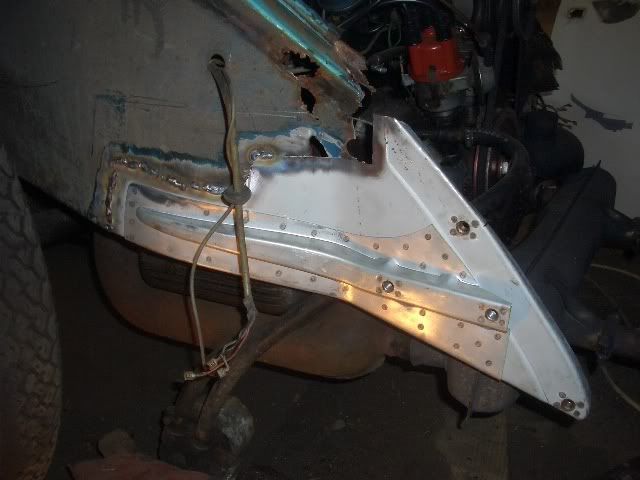
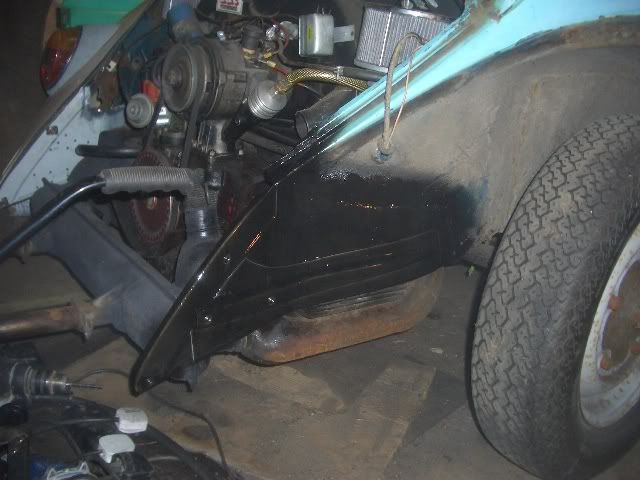
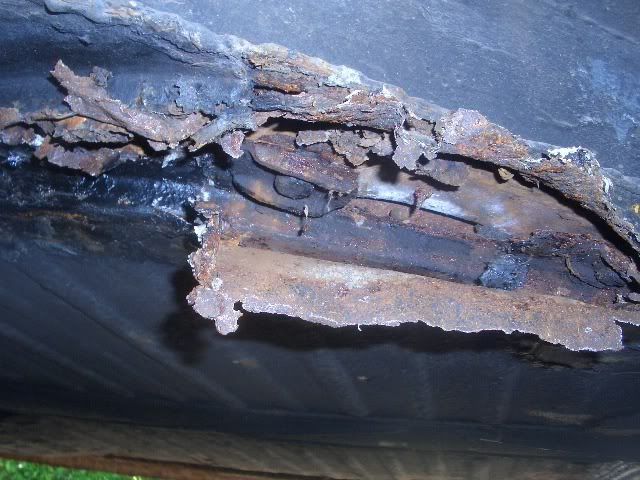
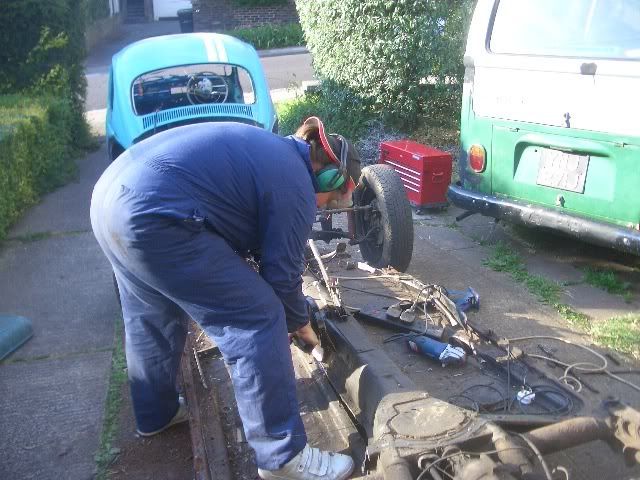
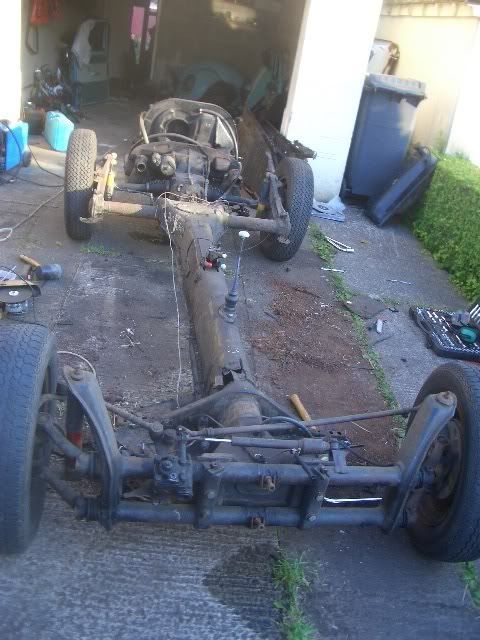
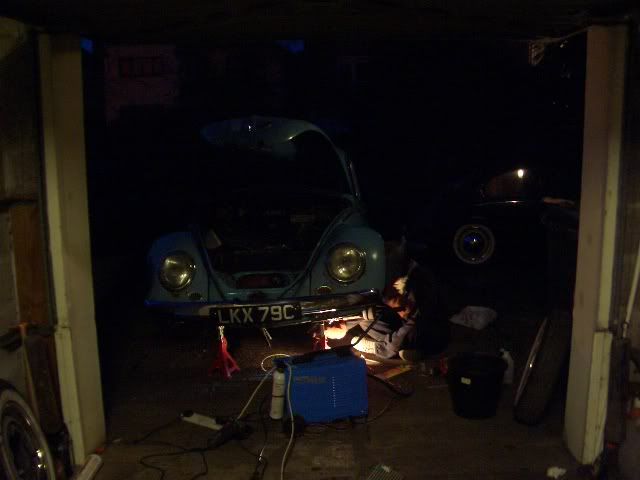
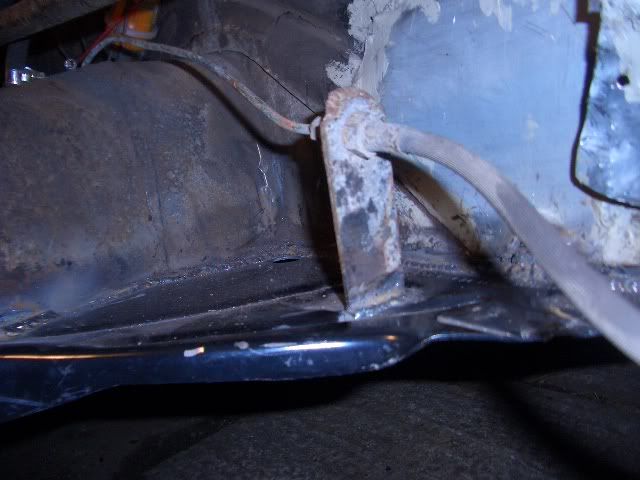
Anyway, being a stubborn person, a friend and I did a bit of this:
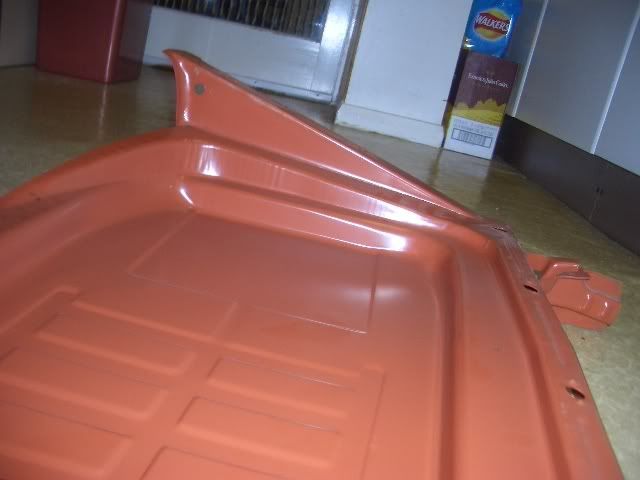
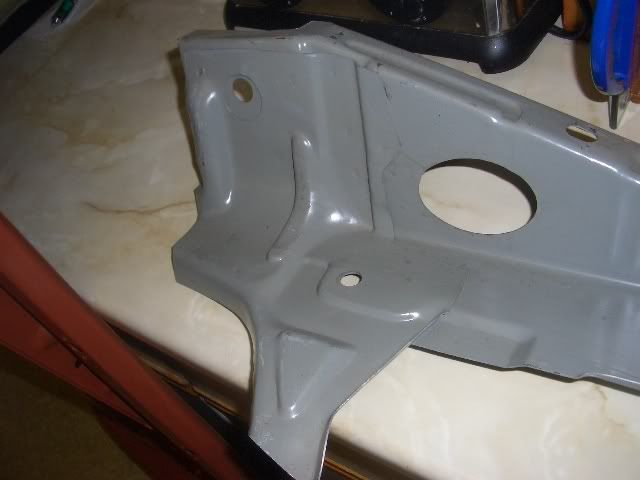
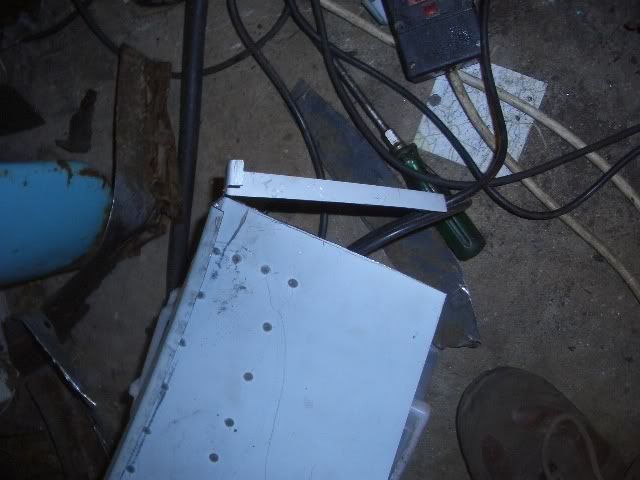
New framehead:

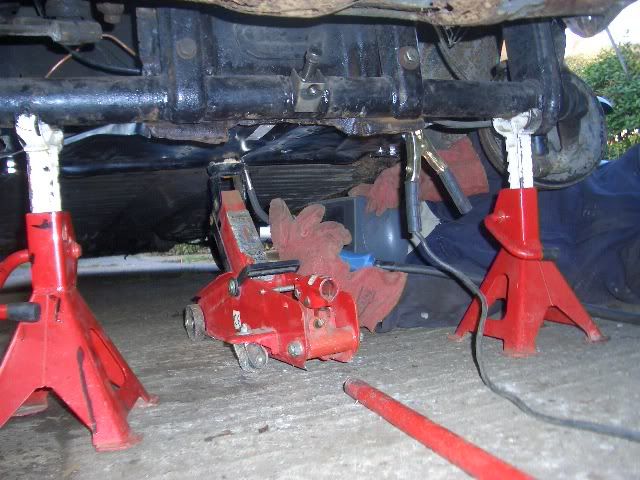
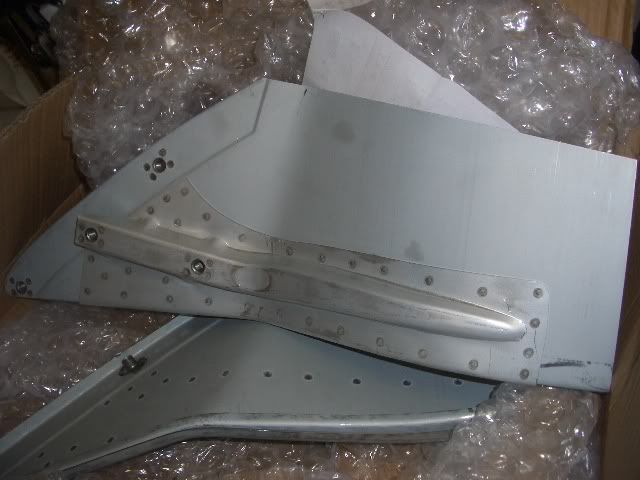
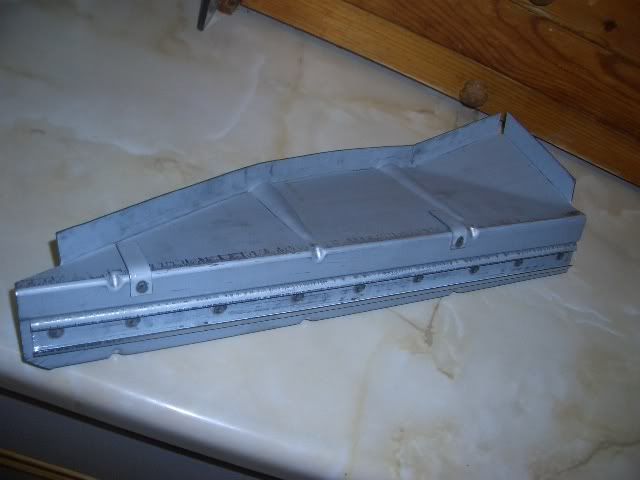
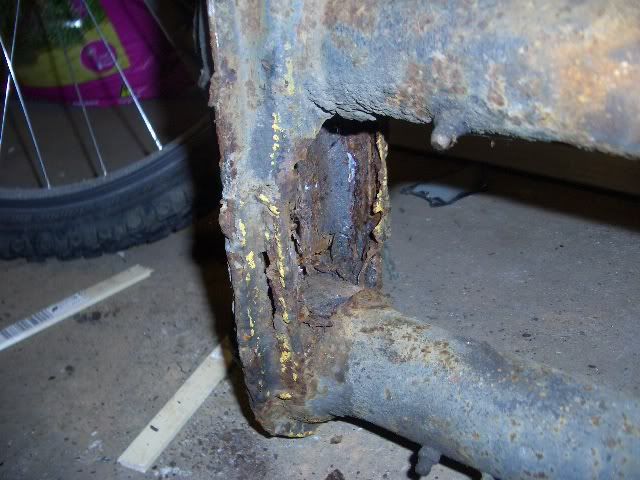
Old axle beam:
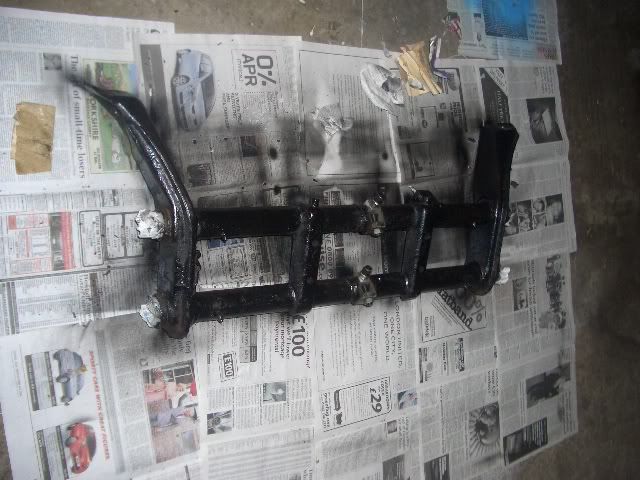
new axle beam:
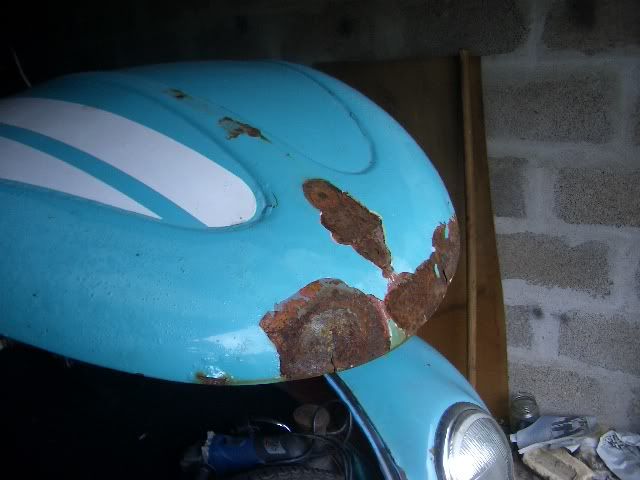
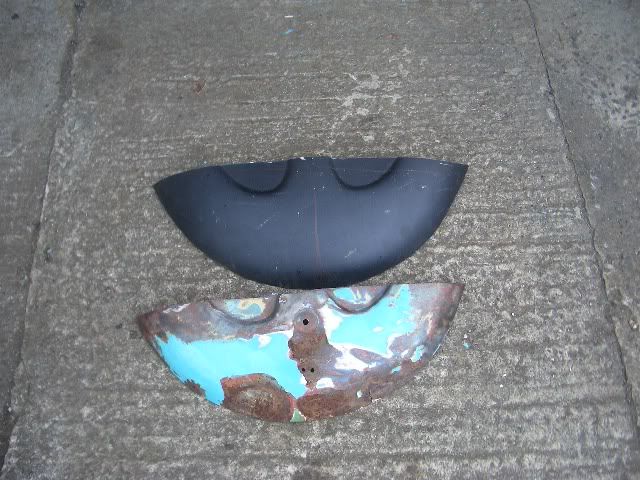
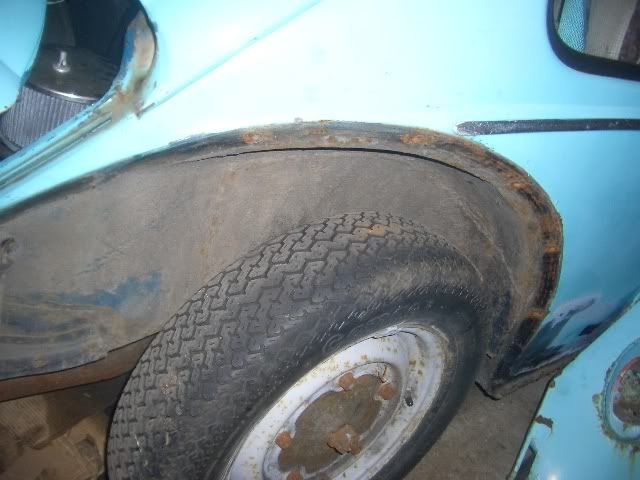
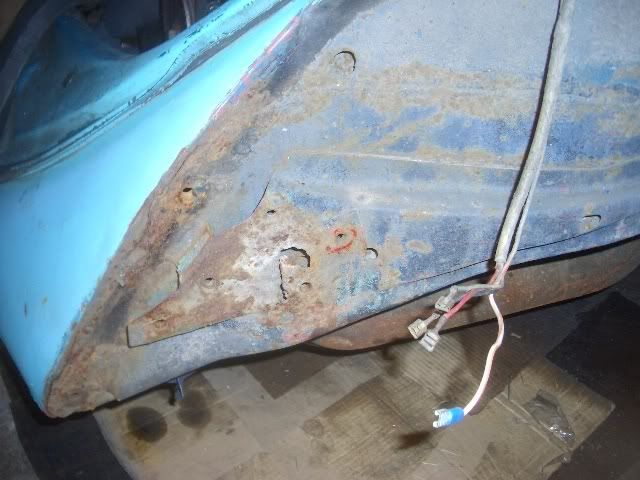
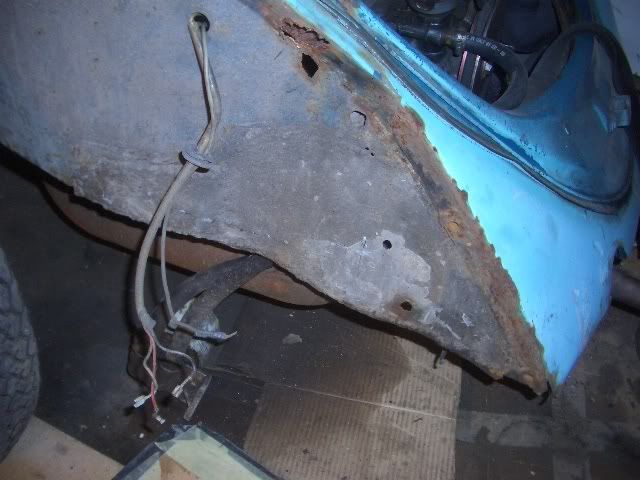
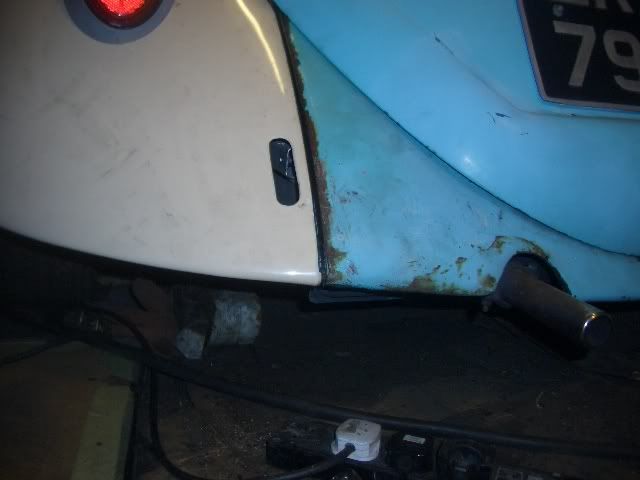
And a few other small sections to repair:
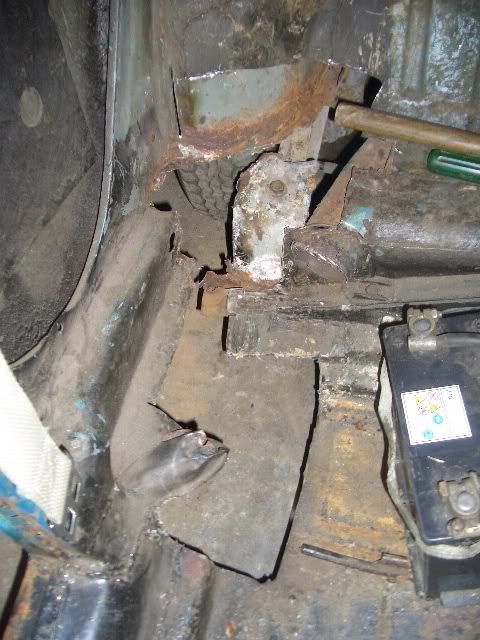
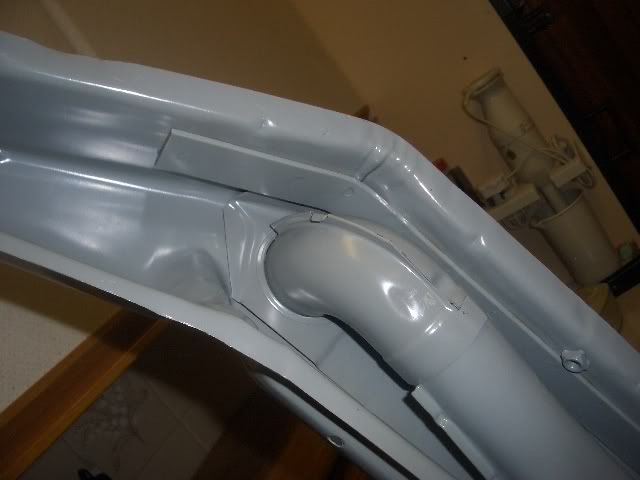
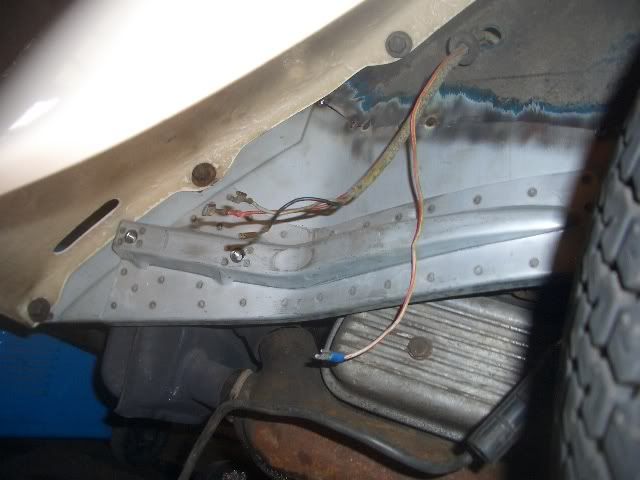
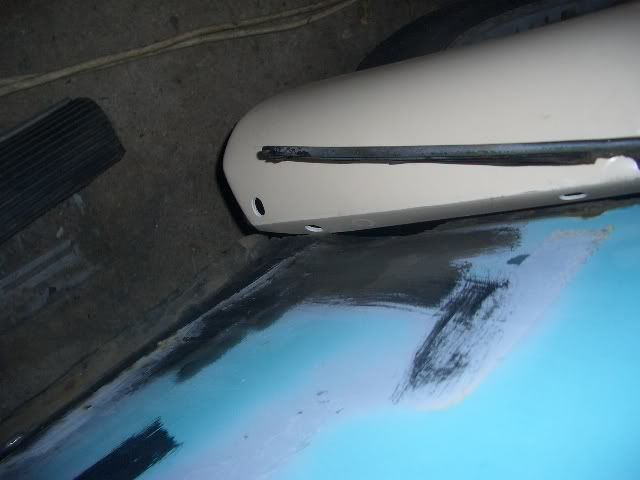
And mended:
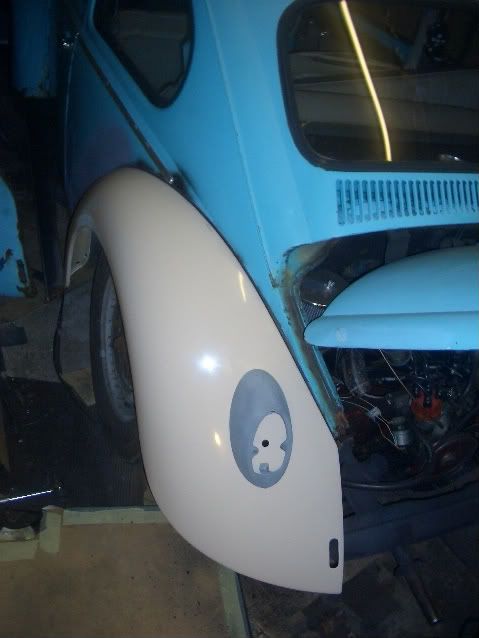
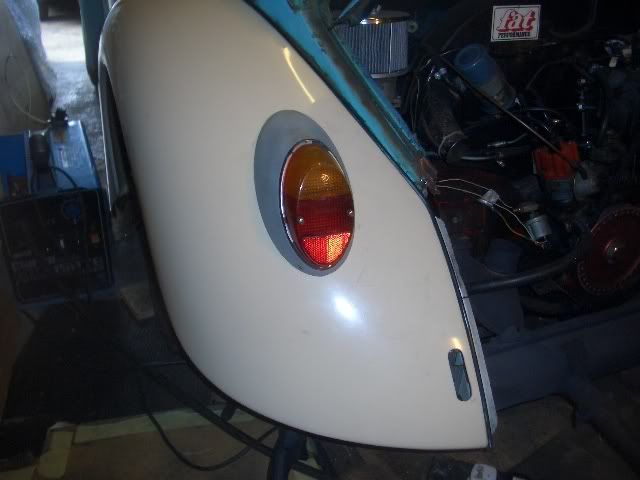
There were LOTS of other small bits of welding, new headlamps, indicator switch etc were fitted.
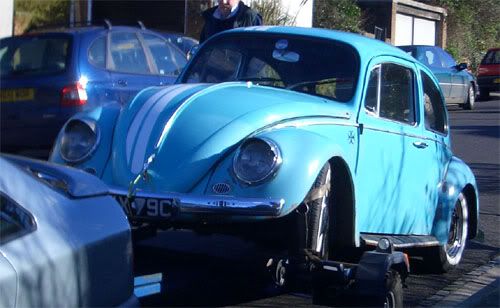
A whole year later, I drove it back to the MOT station for a retest. Except the car broke down on the way there again.
After a bit of persuasion, I got it there without the use of a towtruck.
After a few more fiddly bits were done, it had an MOT about 2 weeks after I passed my driving test
To be continued...